
Basement drywall, thoughtfully planned
A lower level finished to belong with the rooms above it, and built with a clear view of what the foundation will tolerate.
Get a free estimate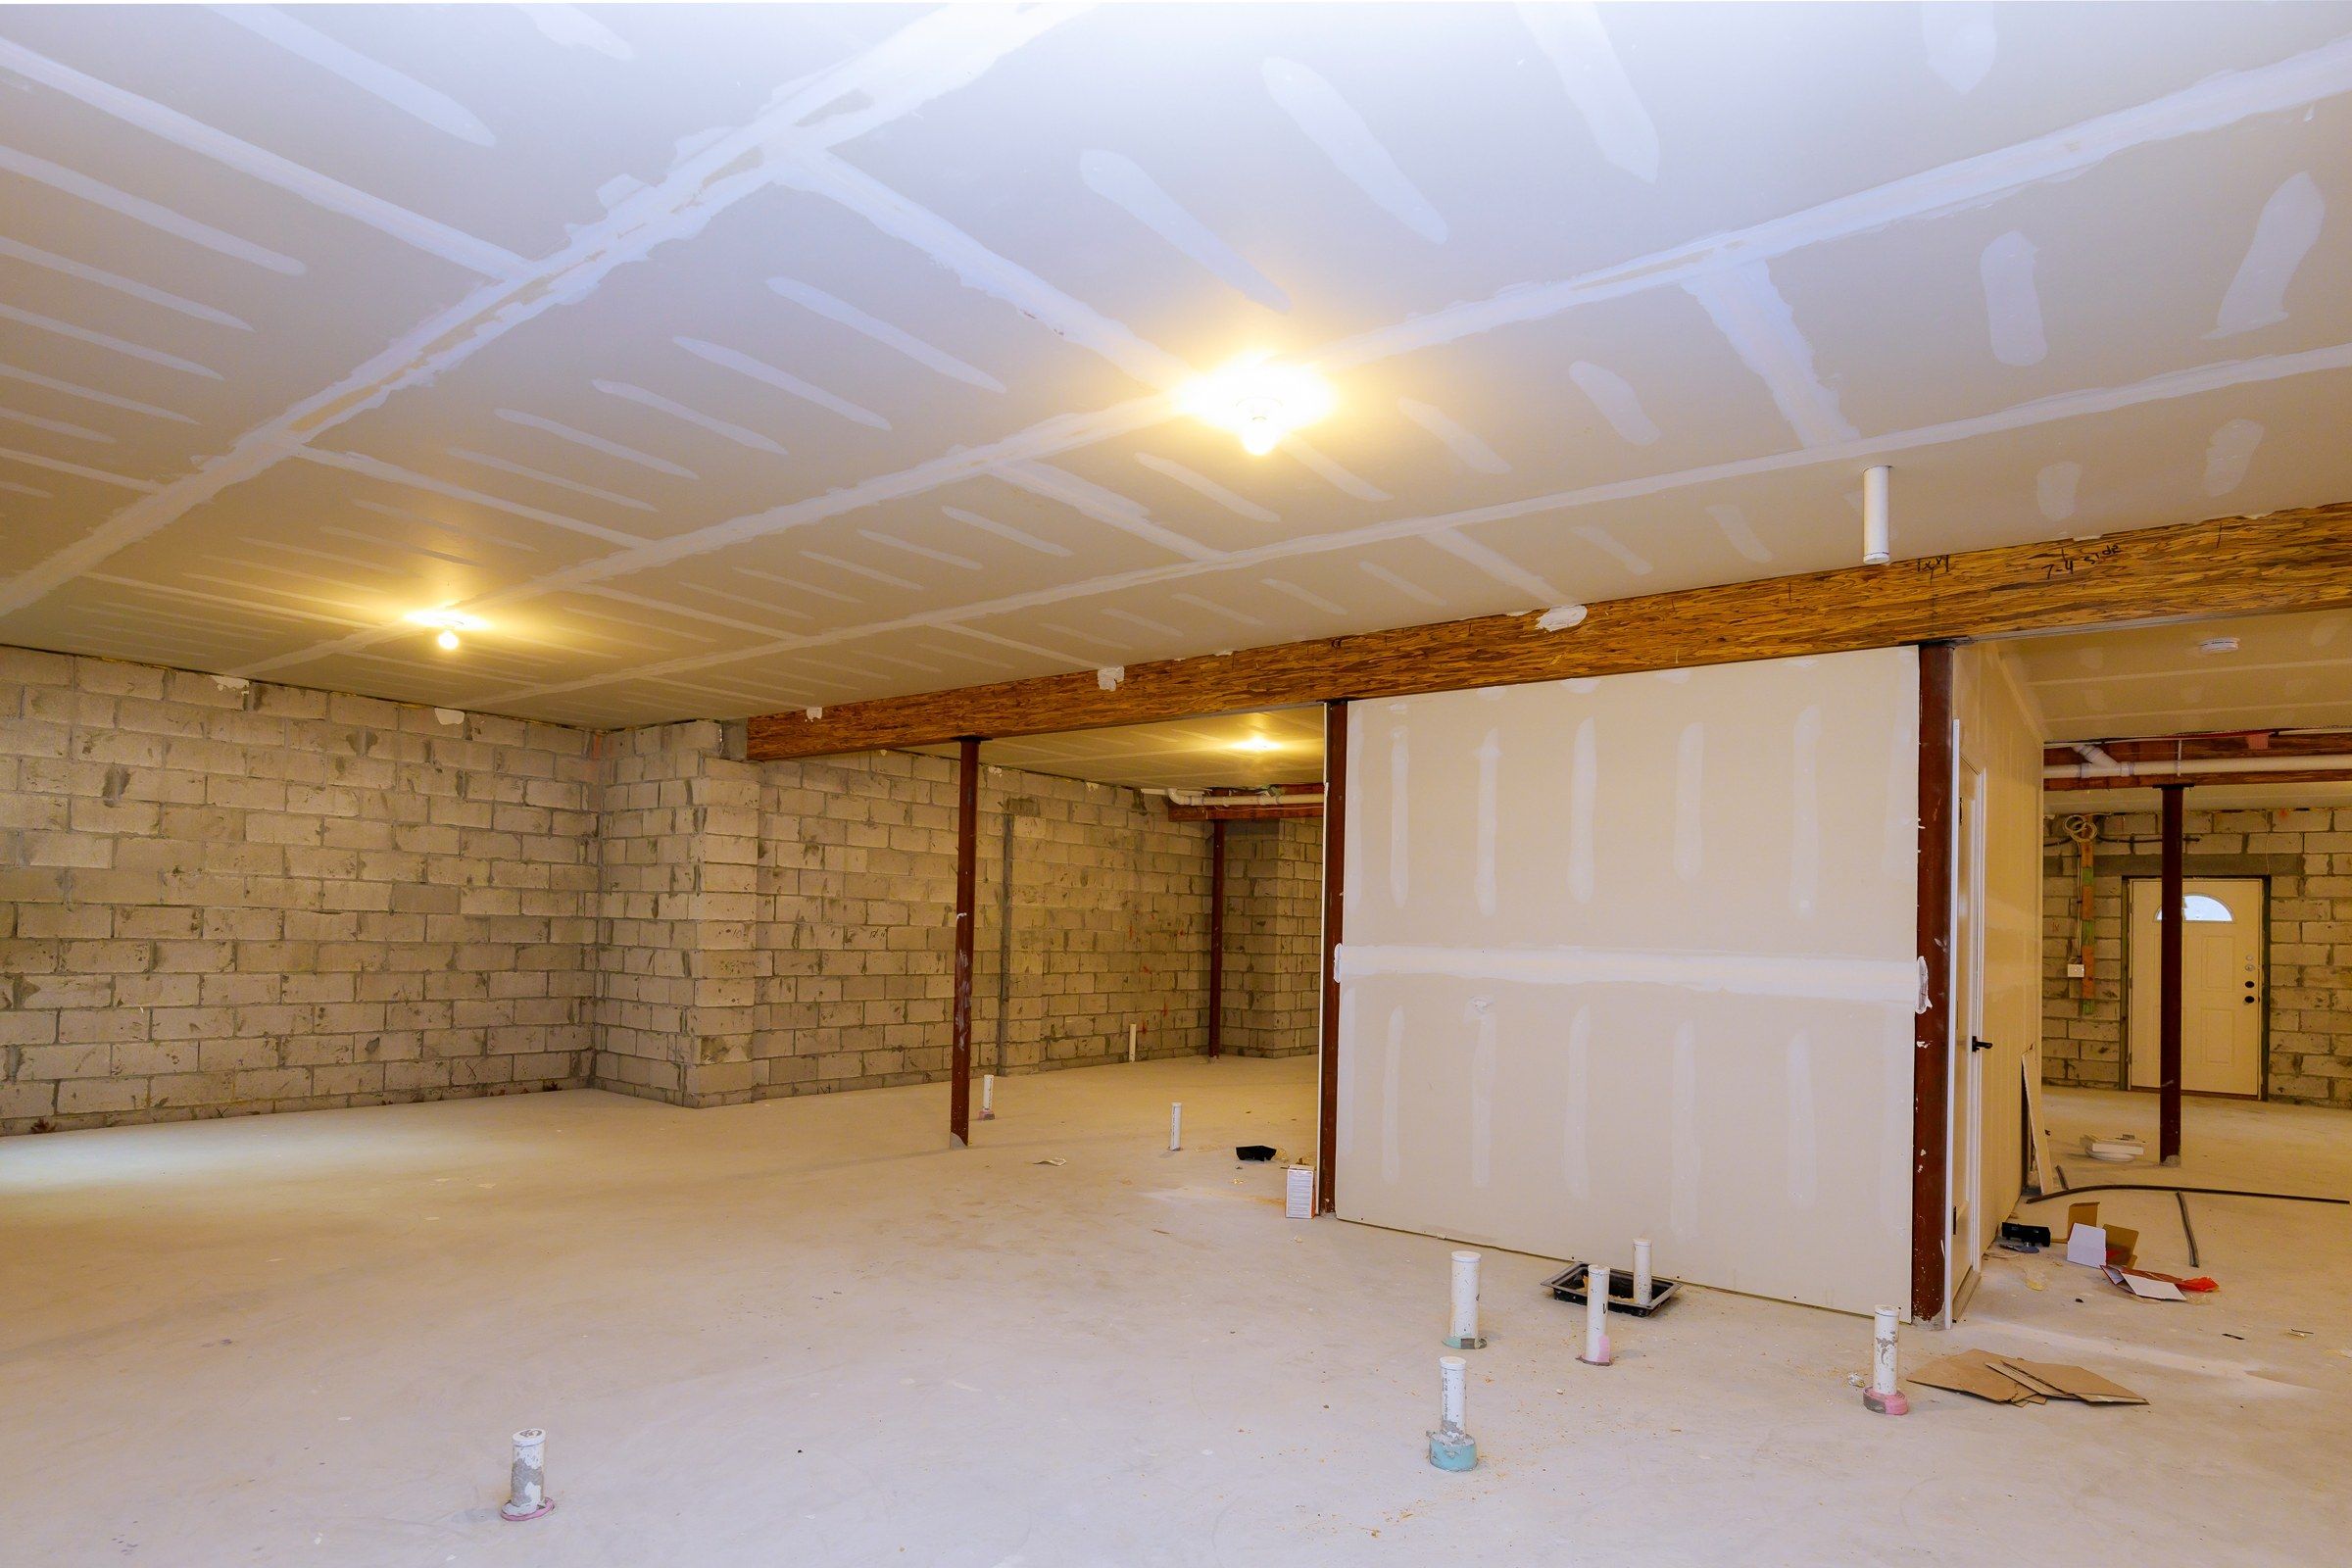
Basements in older houses were built as cellars: for the boiler, the coal, the laundry and the preserves. Turning one into living space is entirely possible, but it asks for more thought than finishing the basement of a house built last year.
We hang and finish basement drywall, and we are candid about where it belongs and where it does not. A dry, reasonably tall basement can become a handsome room. A damp one should be made dry first.
What a basement demands
The first consideration is moisture. Brick, stone and early concrete foundations admit more vapor than modern ones. Board must be kept away from the masonry on properly detailed framing, held off the floor, and chosen for resistance to damp and mold.
The second is headroom. Old basements are low and crossed by beams, pipes and ducts. We plan soffits so they align with one another and with the room, and keep every possible inch of height elsewhere.
Projects we undertake
- A family room or den
- In a basement that is dry and tall enough.
- A study or guest room
- Part of the basement finished, the rest left as utility.
- Replacing an earlier finish
- Mid-century paneling and tile ceilings removed.
- Repair after water
- Lower walls rebuilt once the cause is resolved.
- A laundry or bath
- With boards appropriate to wet rooms.
How the work unfolds
Evaluate the basement
Evidence of water, ceiling height, condition of the walls.
Confirm readiness
Framing, services and insulation complete and inspected.
Plan soffits and access
Aligned boxing, and panels at every valve and cleanout.
Hang
Ceilings and soffits first, then walls clear of the slab.
Finish
Bead, tape, three coats and sanding under a raking light.
Materials and candor
We use mold- and moisture-resistant board throughout a basement in an older house, and paper-faced or vinyl bead on soffits. If quiet is wanted, we add insulation and resilient channel to the ceiling before boarding.
If we see efflorescence, staining or active damp on the foundation, we will say so plainly and recommend it be dealt with first. Finishing over it would be a disservice.
What a considered finish achieves
A room in keeping with the house
Proportions and finish that feel deliberate.
Height preserved
Soffits kept tight and orderly.
Durability below grade
Materials chosen for the conditions.
Services still reachable
Through discreet access panels.
On cost, and what moves it
A basement presents more interruptions to the square foot than any other part of a house. Ducts, beams, drain lines, posts, the meter, the panel, the laundry. Each must be boxed or worked around, and every box brings outside corners that are beaded and finished by hand. Two basements of equal area can differ greatly in labor for that reason alone.
Access is the other large consideration. The basement stairs of older houses are often steep, narrow and turned, and full-length sheets will not always pass. Shorter sheets go down more easily and leave more joints to finish. We measure the stair at the estimate so that the order suits the house.
The basements of older houses
The basement of a 1920s house was built to hold a furnace, a coal bin and a laundry tub, and was never meant to be lived in. The ceiling is low. The walls may be block, brick or stone rather than poured concrete. Cast-iron drains cross the ceiling, and the old gravity heating ducts, where they survive, take up a surprising amount of headroom.
None of this prevents a good finished room, though it shapes one. Headroom has to be protected, which means boxing services closely and keeping the main ceiling as high as the joists allow. Masonry walls must be dry, or made dry, before anything is built in front of them. And the things a house needs to reach from time to time, such as cleanouts and shutoffs and the main drain, must stay reachable behind panels.
Radon is worth a mention. It occurs widely in Wisconsin, and if a basement is to become living space it is sensible to test before finishing. Mitigation is far simpler to install before the walls are closed.
Moisture comes first
No board is a remedy for a damp basement. If the walls show white mineral bloom, if the floor darkens after rain, or if there is a line on the wall where water once stood, those things should be understood and dealt with before finishing. The causes are often outside: gutters, downspouts, the slope of the ground against the house.
Where the basement is sound, we still build with caution. Moisture-resistant board goes where it is useful. The lower edge of every sheet is held clear of the slab and later hidden by the base. A dehumidifier runs throughout the finishing, and ideally every summer afterward.
What should be complete before we hang
Drywall conceals everything behind it, so everything behind it must be finished. The framing should be straight and complete, with soffits built. Wiring and plumbing should be roughed in, insulation placed, and any inspections your permit requires passed.
It helps a great deal to photograph the open walls before they are covered. In ten years, when someone needs to find a pipe or a junction, those photographs will be worth more than they cost.
The finish, and what follows
Basement ceilings are low and their lights are close, which makes them the most critically viewed surfaces in the house. A joint that would pass unnoticed upstairs is plain under a fixture two feet away. We finish with that in mind, and where economy matters we may suggest a light texture overhead.
Allow the last coat several days to cure before priming. Then prime everything, and look at the surfaces under the room’s own lights before the color goes on.
A few particulars
Steel posts and beams are generally wrapped. A beam is boxed like any other soffit. A post can be framed square and boarded, which looks more finished and gives the corner bead something to hold. That choice belongs to the framing stage.
Basement windows take more time than their size suggests. Each has four small returns with four corners. They also collect condensation in winter, so moisture-resistant board is the sensible choice around them.
The stair is easily left out of an estimate. Its walls are tall and awkward to reach, and they are the first thing seen on the way down. See that they are included.
Sound from above is worth a thought before the ceiling closes. Insulation between the joists softens voices and television. It does less for footsteps. If the room below is to be a bedroom or a place for music, say so beforehand.
Finally, leave working room around the furnace, the water heater and the electrical panel. Each needs space for servicing, and some have required clearances. Your heating contractor and electrician can confirm the distances before the framing is fixed.
Before and after
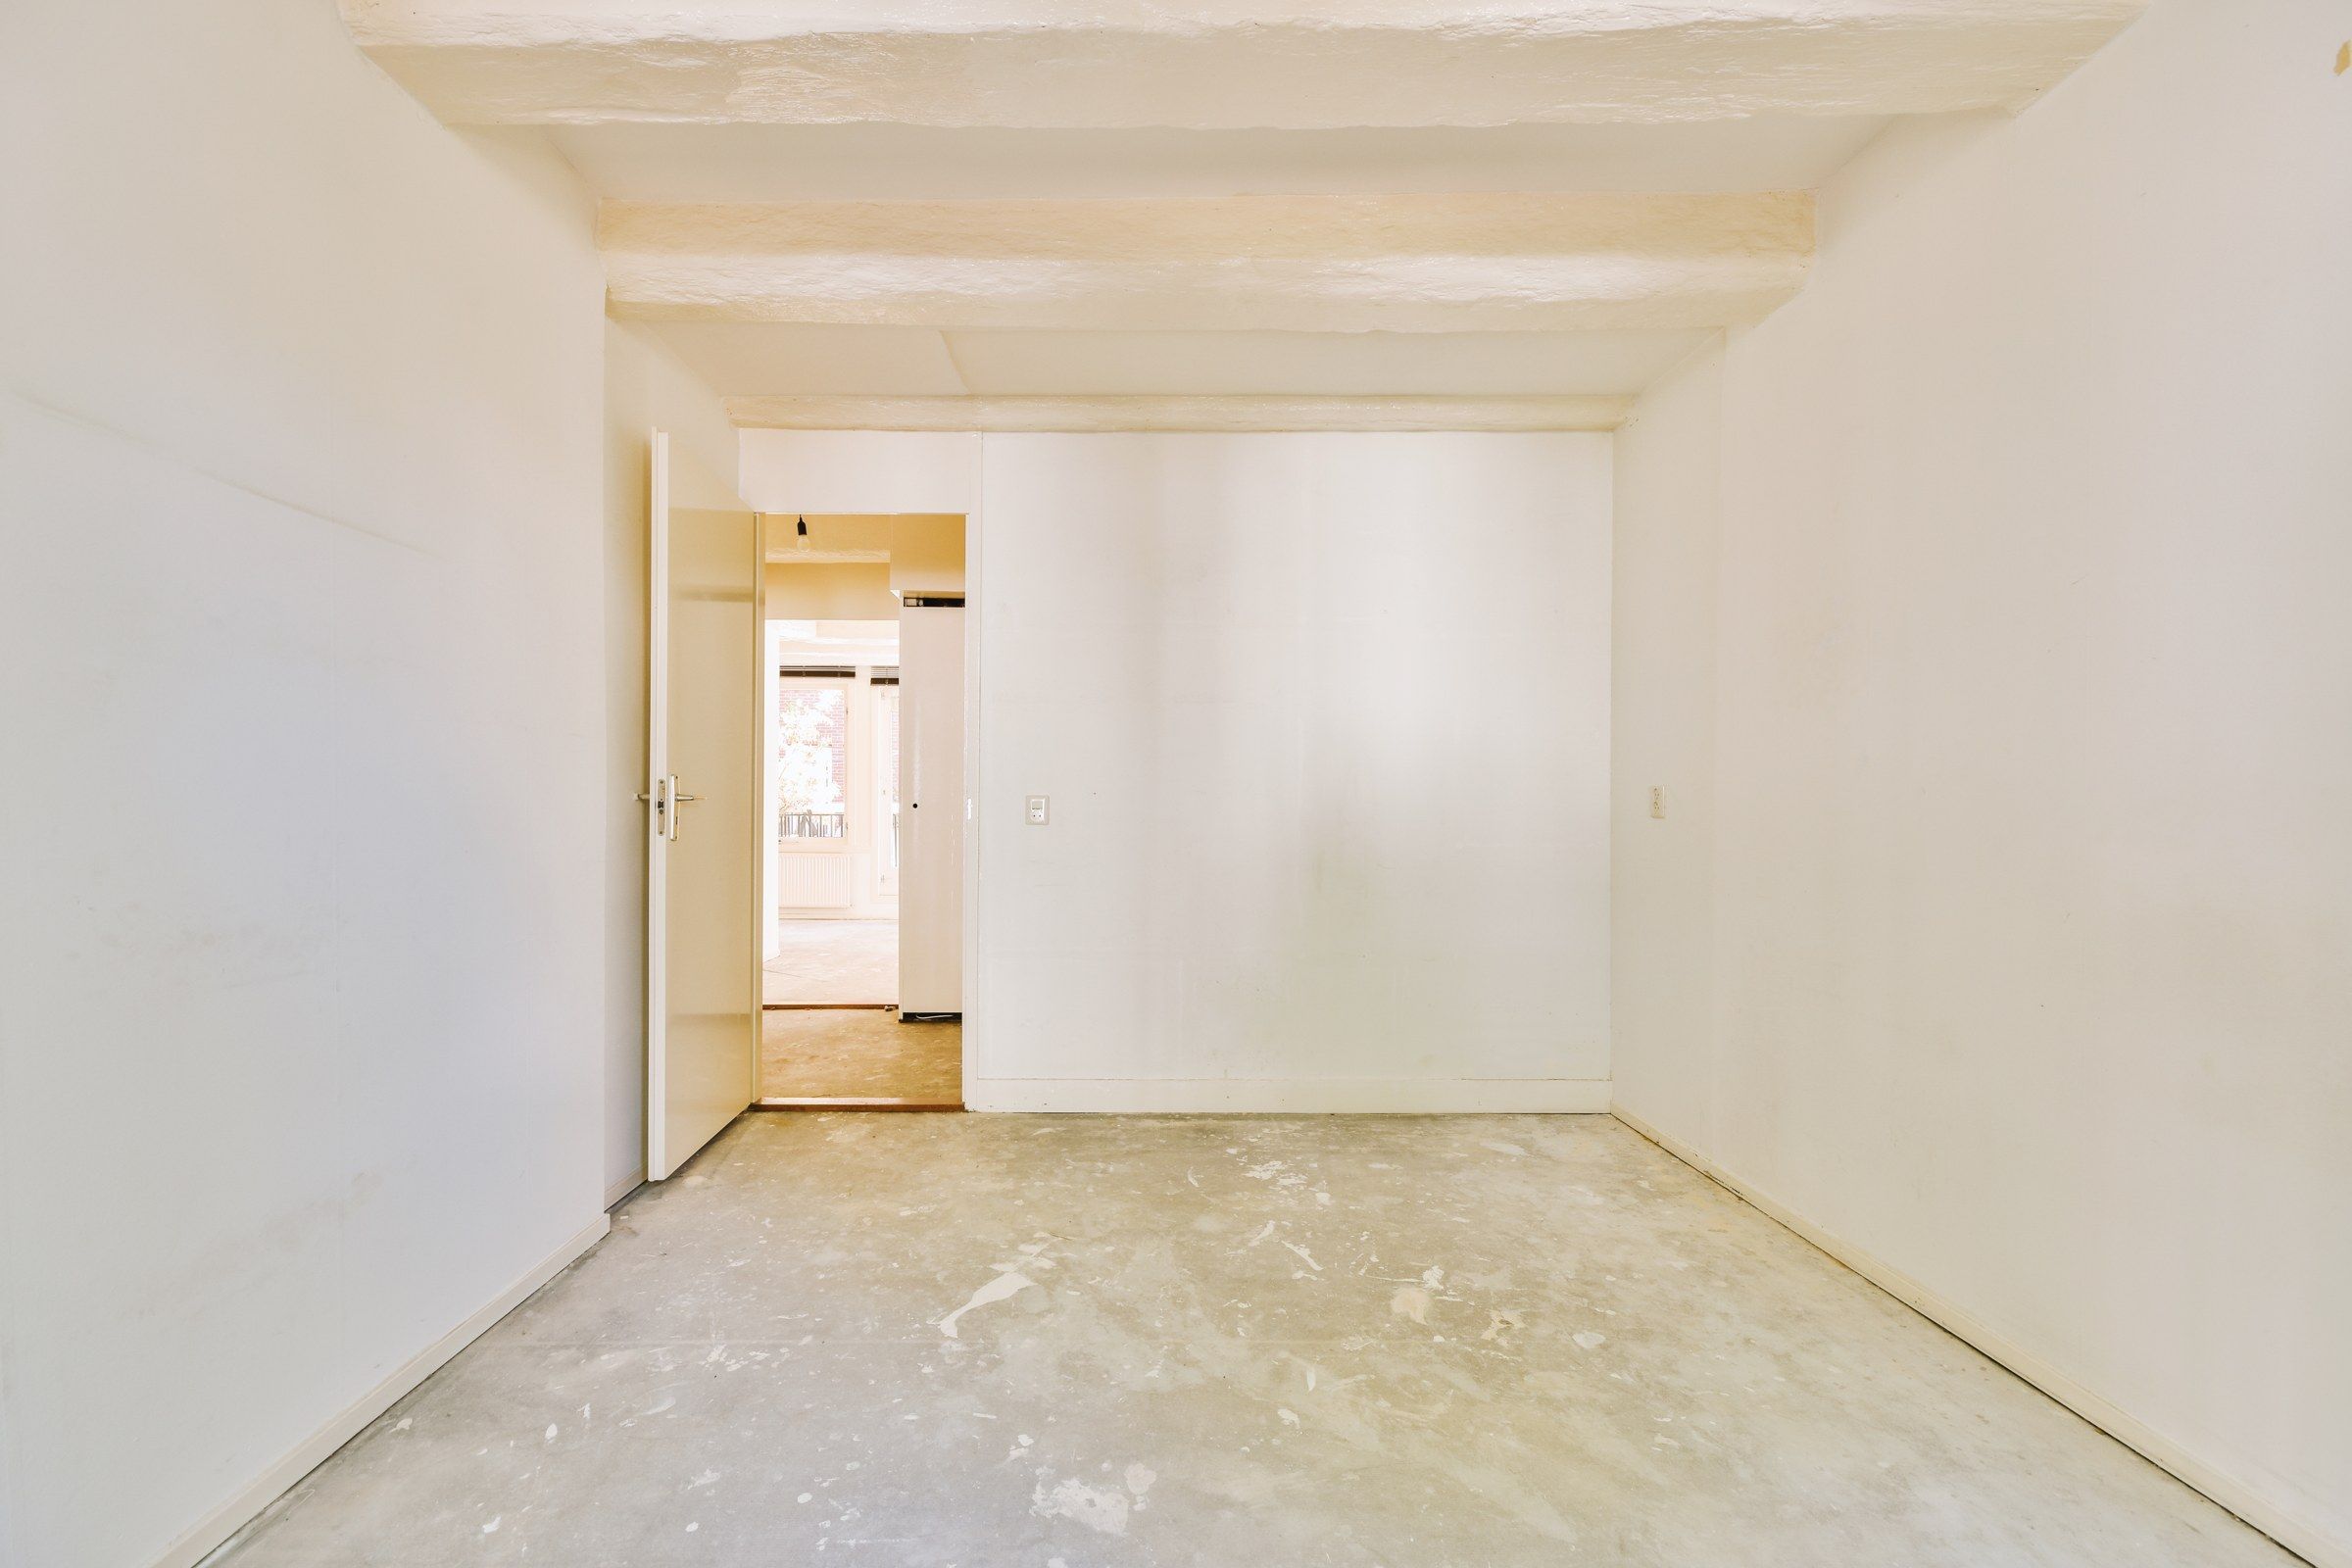
Illustrative stock photographs, not a project of our own.
Wauwatosa basements
In East Tosa and the Highlands, basements typically have block or poured walls from the 1920s and 30s, a ceiling a little over seven feet, and a tangle of original steam or hot-water piping. They can be finished beautifully, but only with careful planning around those pipes.
West of Mayfair Road, the post-war houses have more regular poured basements that are simpler to finish.
Questions on basement drywall installation
Is my old basement suitable for finishing?
If it stays dry through a wet spring and has adequate height, very likely. We are glad to look and give a frank opinion.
What about the heating pipes on the ceiling?
They can be boxed in soffits, or in some cases left exposed and painted as a feature. We will discuss which suits the room.
Do you do the framing?
Our work begins once framing, wiring, plumbing and insulation are complete and inspected.
How is damp from the walls handled?
By the framing and insulation detail behind the board, which should be settled before we arrive. We will review it with you.
How long does it take?
Around two weeks for an average basement, most of it drying time.
Related
Work often done alongside
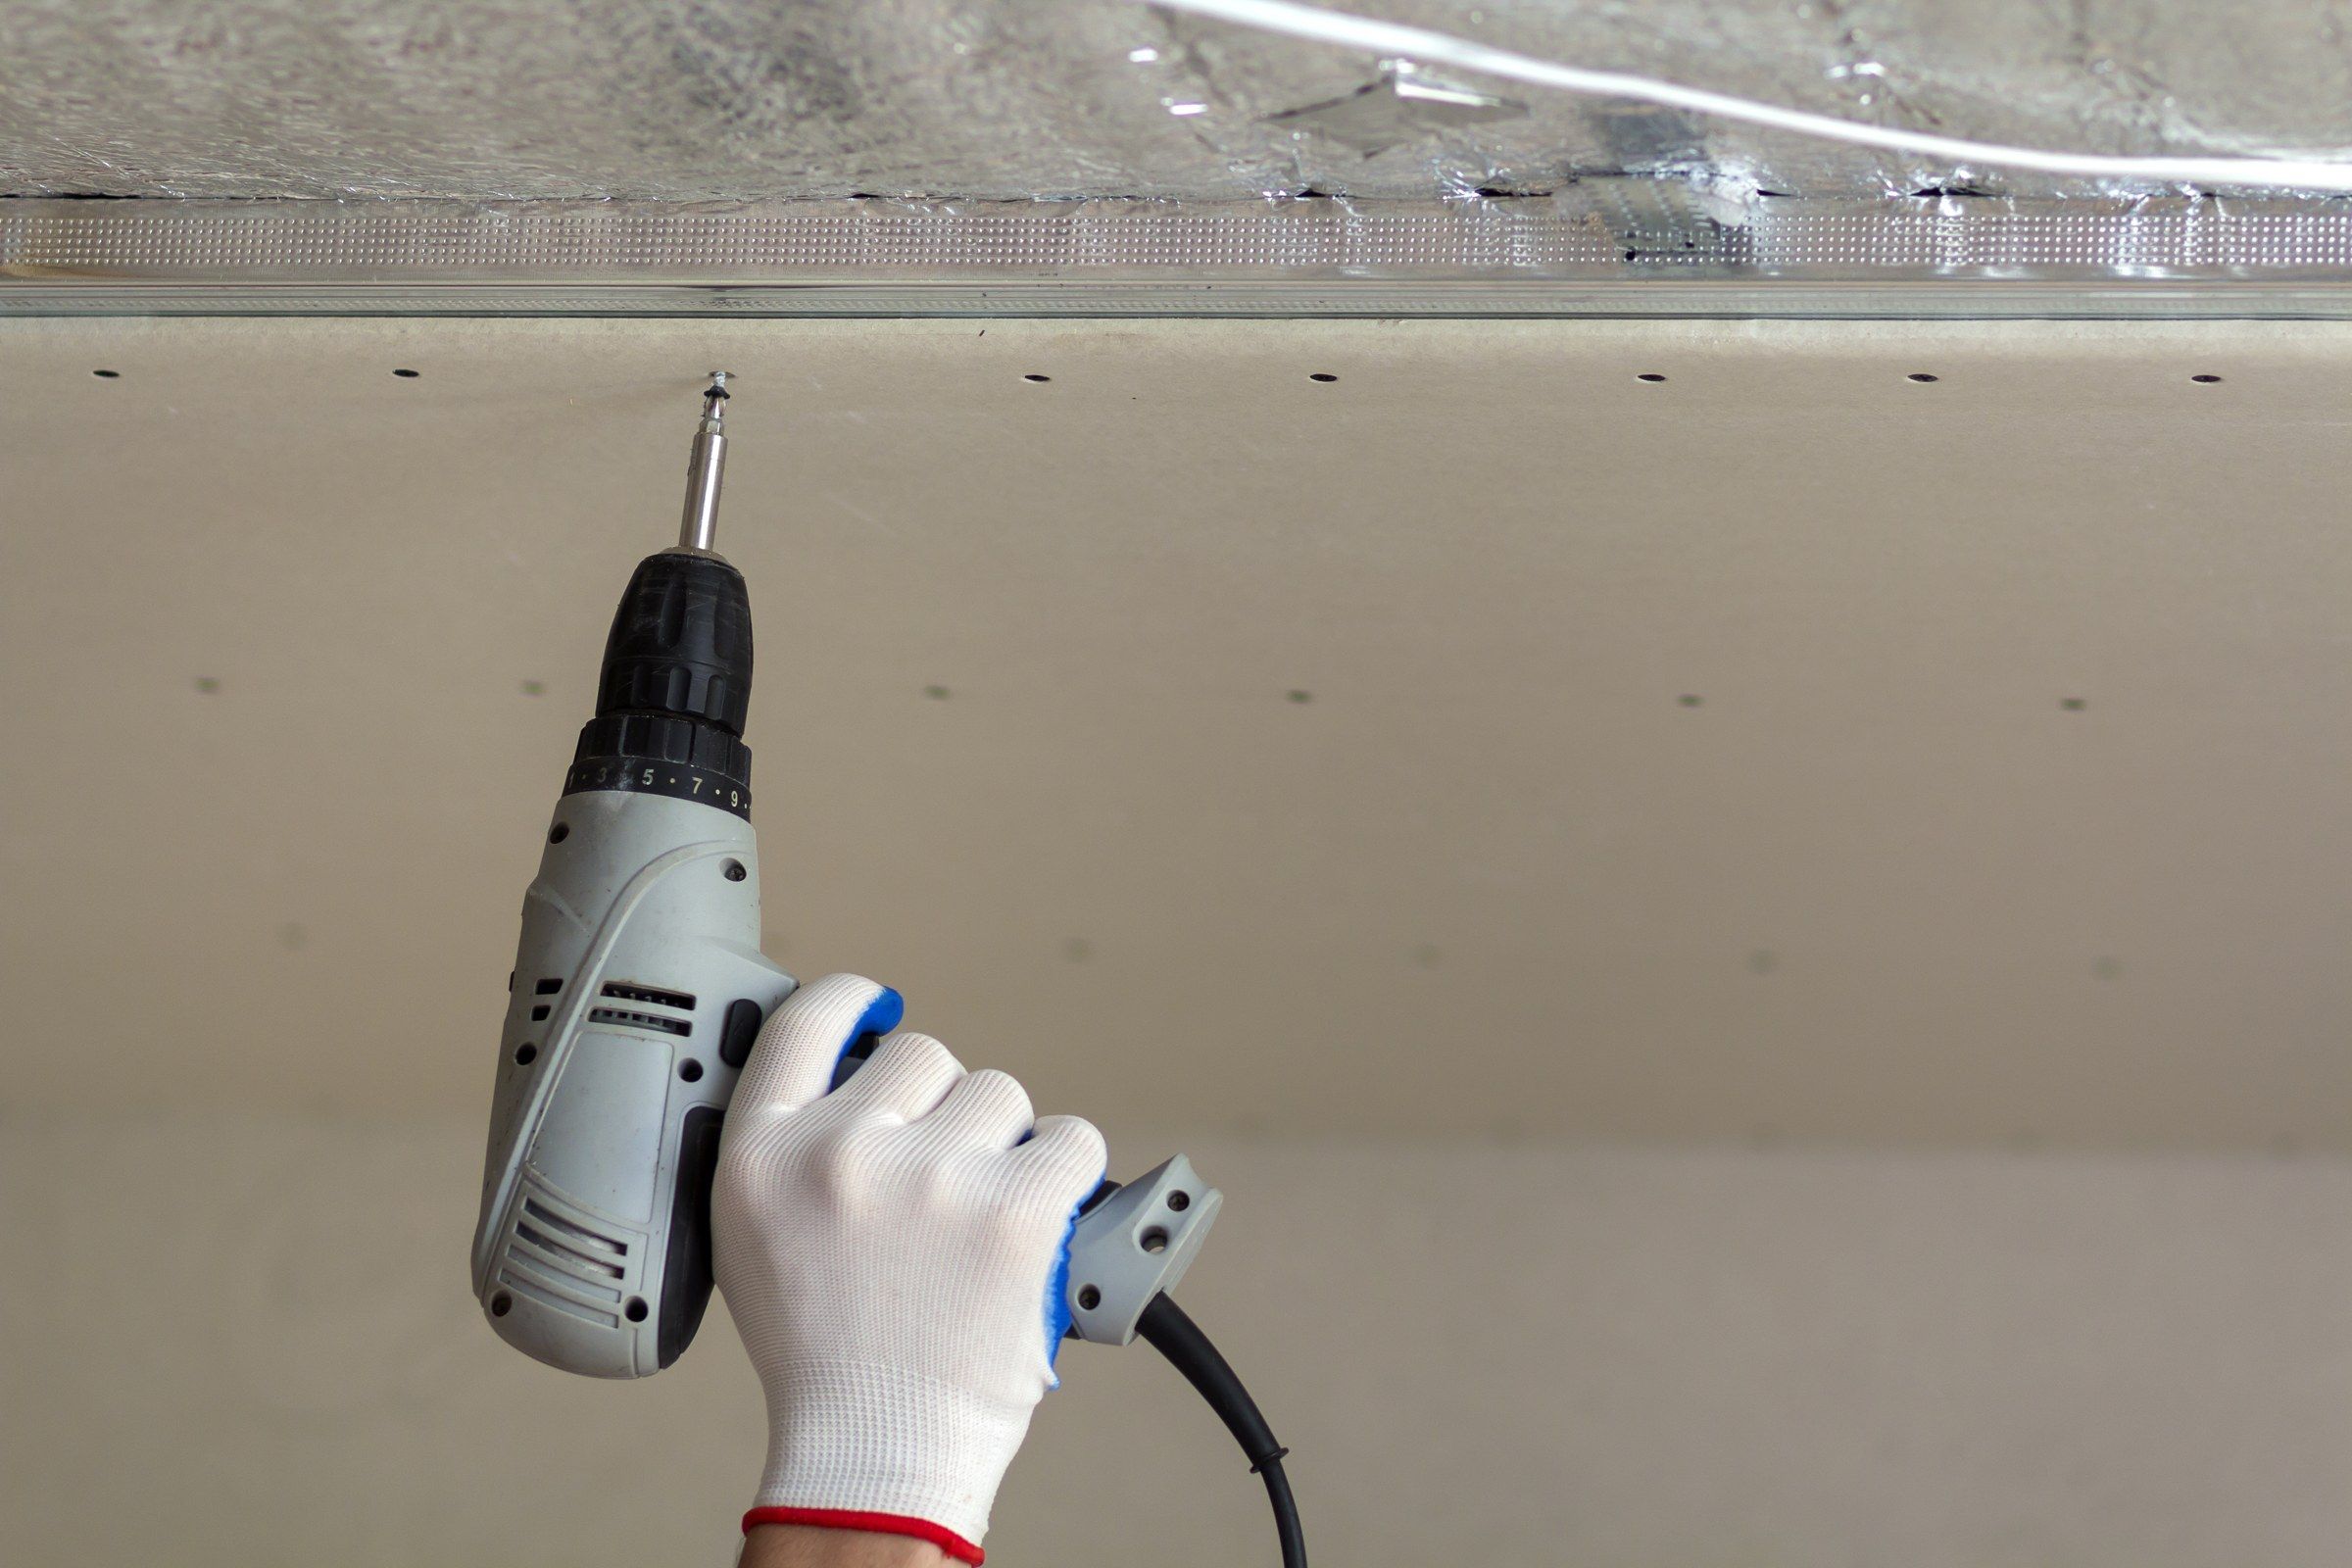
Drywall Installation
Board set out and hung with the finished surface already in mind.
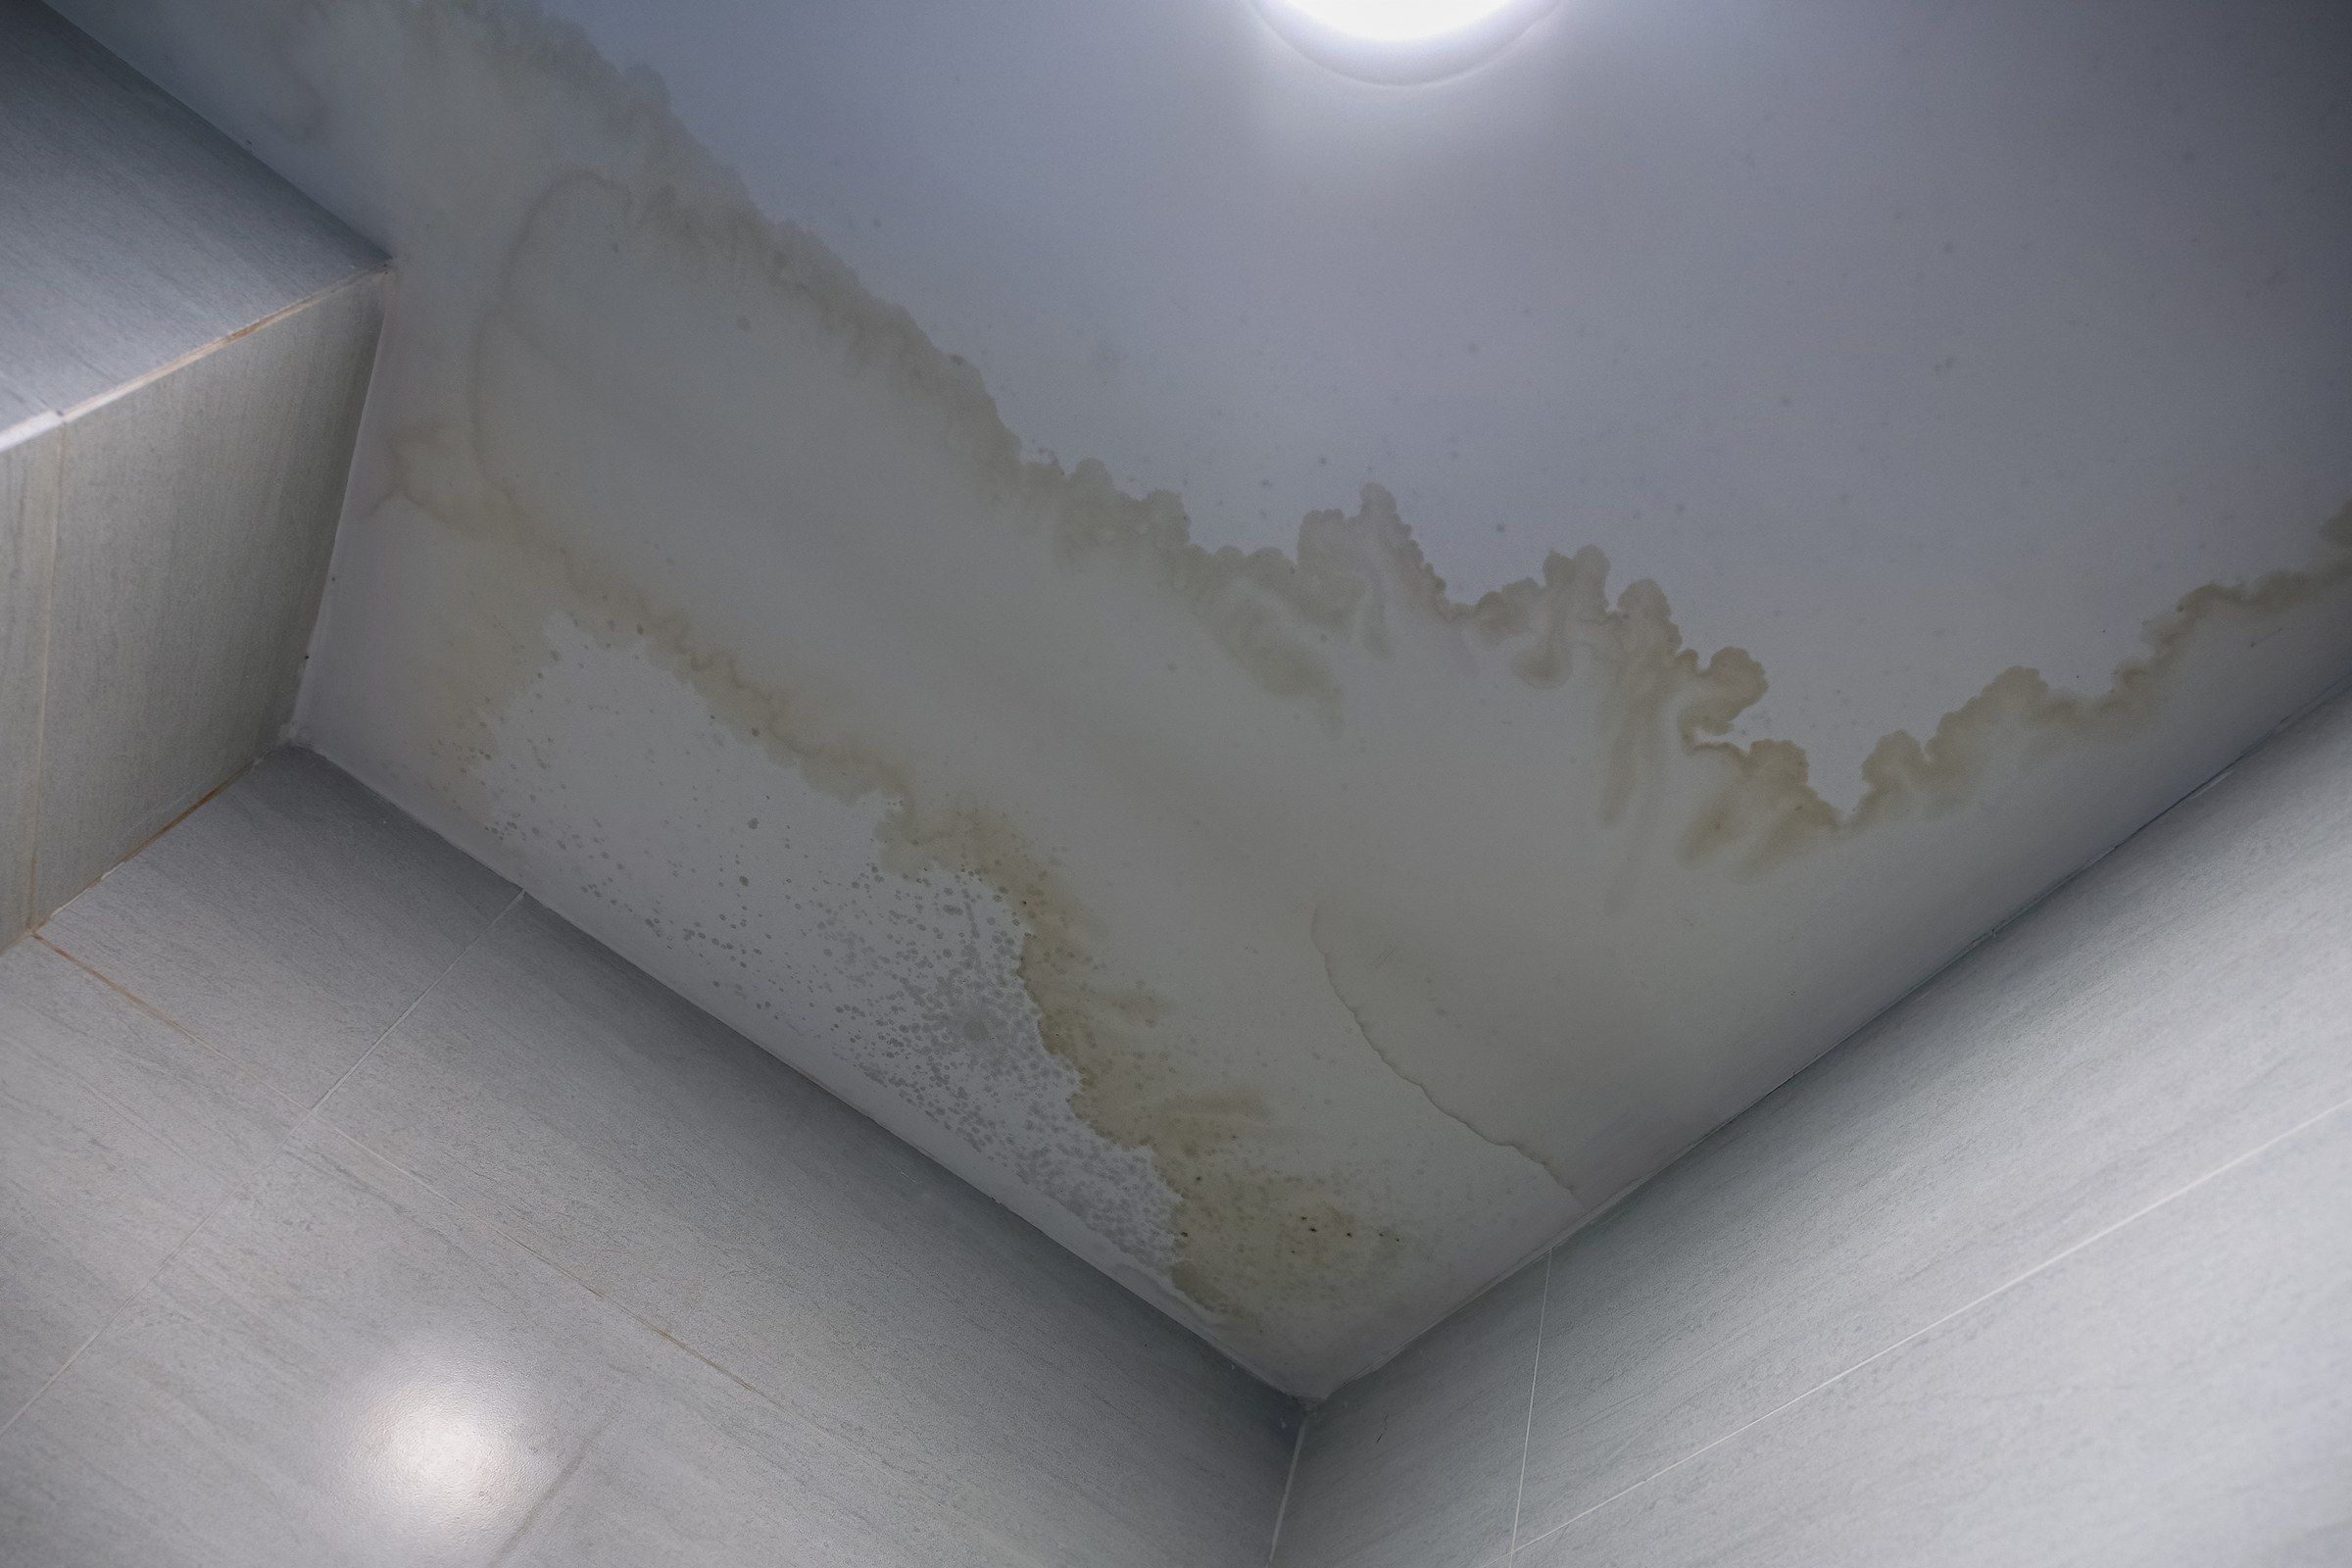
Water-Damaged Drywall Repair
Stained and softened surfaces removed, dried and carefully rebuilt.
Drywall Finishing
Level 5 surfaces, skim coats and plaster-like finishes for rooms that deserve them.
Residential Drywall Services
Drywall and plaster-sympathetic work for the houses of Wauwatosa.
May we quote for this?
Tell us about your basement drywall installation project in Wauwatosa. A written estimate follows, without charge.
Get a free estimate