Drywall installation, thought through
Hanging that anticipates the finish: joints where they will not be seen, and board that meets the old house on its own terms.
Get a free estimate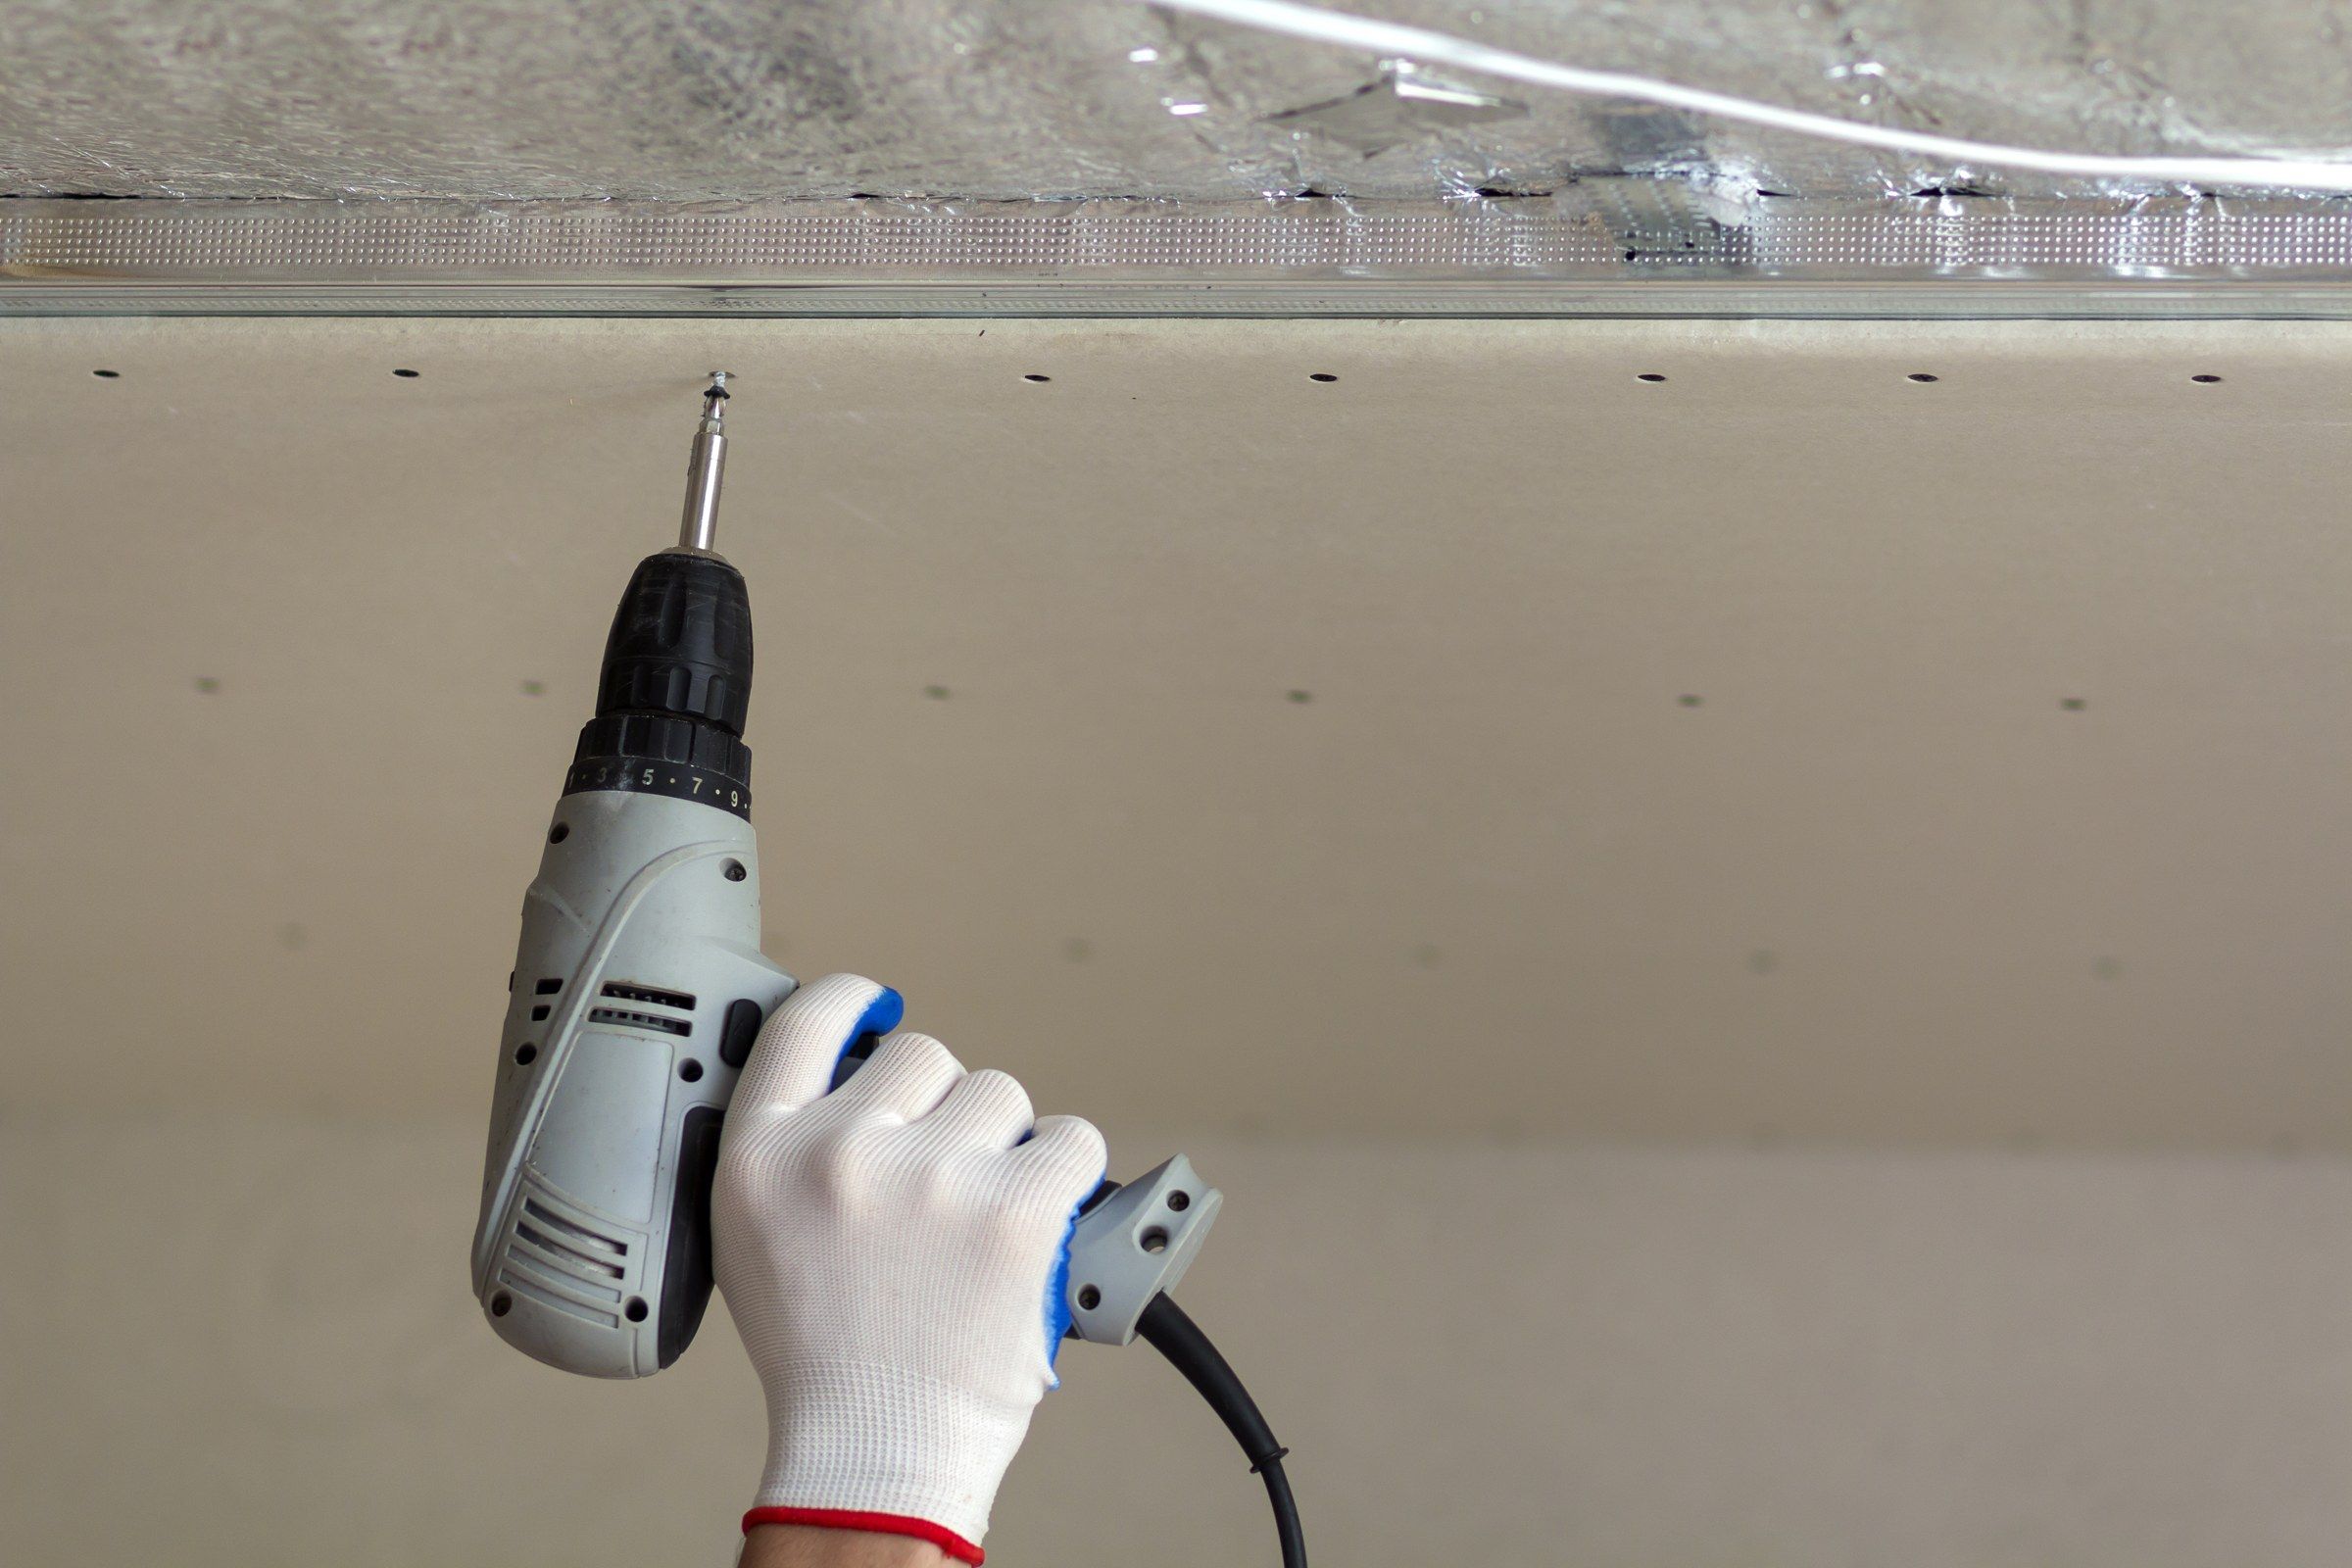
There is a temptation to treat hanging as the unskilled half of drywall: lift, screw, repeat. In truth the hanger makes most of the decisions that determine how the wall will look. Where each joint falls, whether a sheet is cut around an opening or broken at it, how the board meets an out-of-square corner.
We hang with the finish in view, because we will be the ones finishing it. In an older house, we also hang with the existing walls in view, so the new work arrives at the same plane.
What thoughtful hanging involves
The framing is checked first with a straightedge. High studs are planed, low ones shimmed. Sheets are then set out to minimize joints, to keep them clear of the corners of doors and windows, and to place unavoidable butt joints where furniture or shadow will be kind to them.
Board is fastened with screws at the correct spacing, each set just beneath the paper. Openings are cut closely. At old walls, the new board is packed out to finish level with the plaster.
Where we install
- Renovated kitchens and baths
- New board beside retained plaster.
- Additions and dormers
- Angles, slopes and tie-ins.
- Attic and basement conversions
- Awkward spaces made regular.
- Whole-house renovations
- Every room, to one standard.
- New construction
- Infill houses and substantial rebuilds.
- Commercial interiors
- Steel-framed partitions and ceilings.
From delivery to hand-over
Measure and select
Board type and length chosen for each room.
Deliver with care
Carried in by hand where stairs and woodwork demand it.
True the framing
Plane, shim and block.
Hang
Ceilings, then walls, with joints planned.
Clear the site
Off-cuts removed, floors swept, ready for taping.
Choosing the board
Beside plaster, 5/8-inch board, often with a furring layer, to match the wall’s depth. On ceilings, 5/8-inch or a sag-resistant panel. In baths and laundries, moisture- and mold-resistant board, with cement or foam backer in the shower itself. At the garage, Type X.
For clients who want plaster’s hardness in new work, we can hang blueboard to receive a veneer plaster finish.
What is gained by hanging well
Fewer, better-placed joints
Less to finish and less to see.
Flat walls
On framing that has been made true.
Flush transitions
New board level with old plaster.
A finish that goes smoothly
Because it was prepared for.
On cost, and what moves it
The price of installation begins with a count of sheets and is then adjusted for the kind of board, the height of the walls and the intricacy of the rooms. Standard board suits most walls. Ceilings on widely spaced framing, and walls that need a fire rating, take thicker board. Bathrooms take a moisture-resistant kind.
Shape counts for a good deal. Long plain walls accept long sheets and leave few joints. Dormers, knee walls, sloped ceilings and the many small returns of an attic conversion need a great deal of cutting and leave a great many joints to be finished afterward.
New rooms in old houses
Most installation in Wauwatosa is not new construction. It is the attic made into a bedroom, the kitchen opened to the dining room, the rear addition, the bathroom rebuilt from the studs. In each case new board must meet an existing house, and the house is seldom square.
Old framing is true to the dimensions of its day, which are not today’s, and it has had a century to settle. Studs may be at irregular centers. Ceilings may fall an inch across a room. We check with a long straightedge before hanging and correct what would otherwise show through the finished wall, by shimming, planing or adding framing alongside.
Where new board is to meet old plaster, the difference in thickness is made up so that the two finish in one plane. This is fiddly, and it is what allows the joint between them to disappear.
Attics, in particular
The finished attic is a Wauwatosa institution, and it is the most demanding room to board. Almost nothing is at a right angle. Sloped ceilings meet knee walls at one angle and a flat ceiling at another. Dormers add small triangular pieces and short returns.
Those angled joints will not accept ordinary rigid corner bead, and they are prone to cracking as the roof moves with the seasons. We use flexible corner products made for the purpose. Getting material up a narrow attic stair is its own exercise and often governs the length of sheet that can be used.
What should be ready
Everything that belongs inside the walls: wiring, plumbing, ductwork, insulation, and blocking wherever something heavy is to hang. Where a permit applies, the inspections that precede drywall should be complete.
Photograph the open walls the day before. And tell us where cabinets, long mirrors or large tiles are to go, since those walls need to be flatter than a painted bedroom wall and we will take particular care with them.
How the board goes up, and what follows
Ceilings first, with sheets run across the joists and their ends staggered. Then walls, generally with the sheets laid lengthwise so that the main joint falls at a convenient height. Openings are cut out after the sheet is fixed, which keeps joints away from the corners of doors and windows, where cracks begin.
Fixings are set just below the surface without breaking the paper. When the hanging is done, we press on every sheet and add screws wherever it moves. Taping can usually begin the following day, provided the house is warm.
A few particulars
Longer sheets mean fewer joints between cut ends, and those are the hardest joints to hide. We use the longest board that can be got into the building. In an older house that is often decided by the stair.
Sound is settled at this stage. Insulation within a partition, thicker board, or a second layer on one side all reduce what passes between rooms. Bedrooms, bathrooms and studies are the usual candidates. None of it can be added once the wall is closed.
Moisture-resistant board is not waterproof. It belongs on bathroom walls and ceilings outside the wet area. Within a shower or around a bath, a proper tile backer is the right material, fitted at the same stage.
Small gaps are deliberate. Board is held slightly off the floor, away from any damp. Where it meets a window frame or a bath it is left a little short and sealed. Board forced tightly into place will crack as the house moves.
Material is best delivered a day or two ahead, so that it comes to the temperature and humidity of the house before it is fixed.
Offcuts are carried out as the work proceeds. A room produces a surprising quantity, and none of it should be left inside wall cavities or under a stair. If you would like a few clean pieces kept for future patches, say so, and we will set them aside.
If another finisher is to follow us, the board is left fastened, clean at its edges and ready for tape.
Before and after
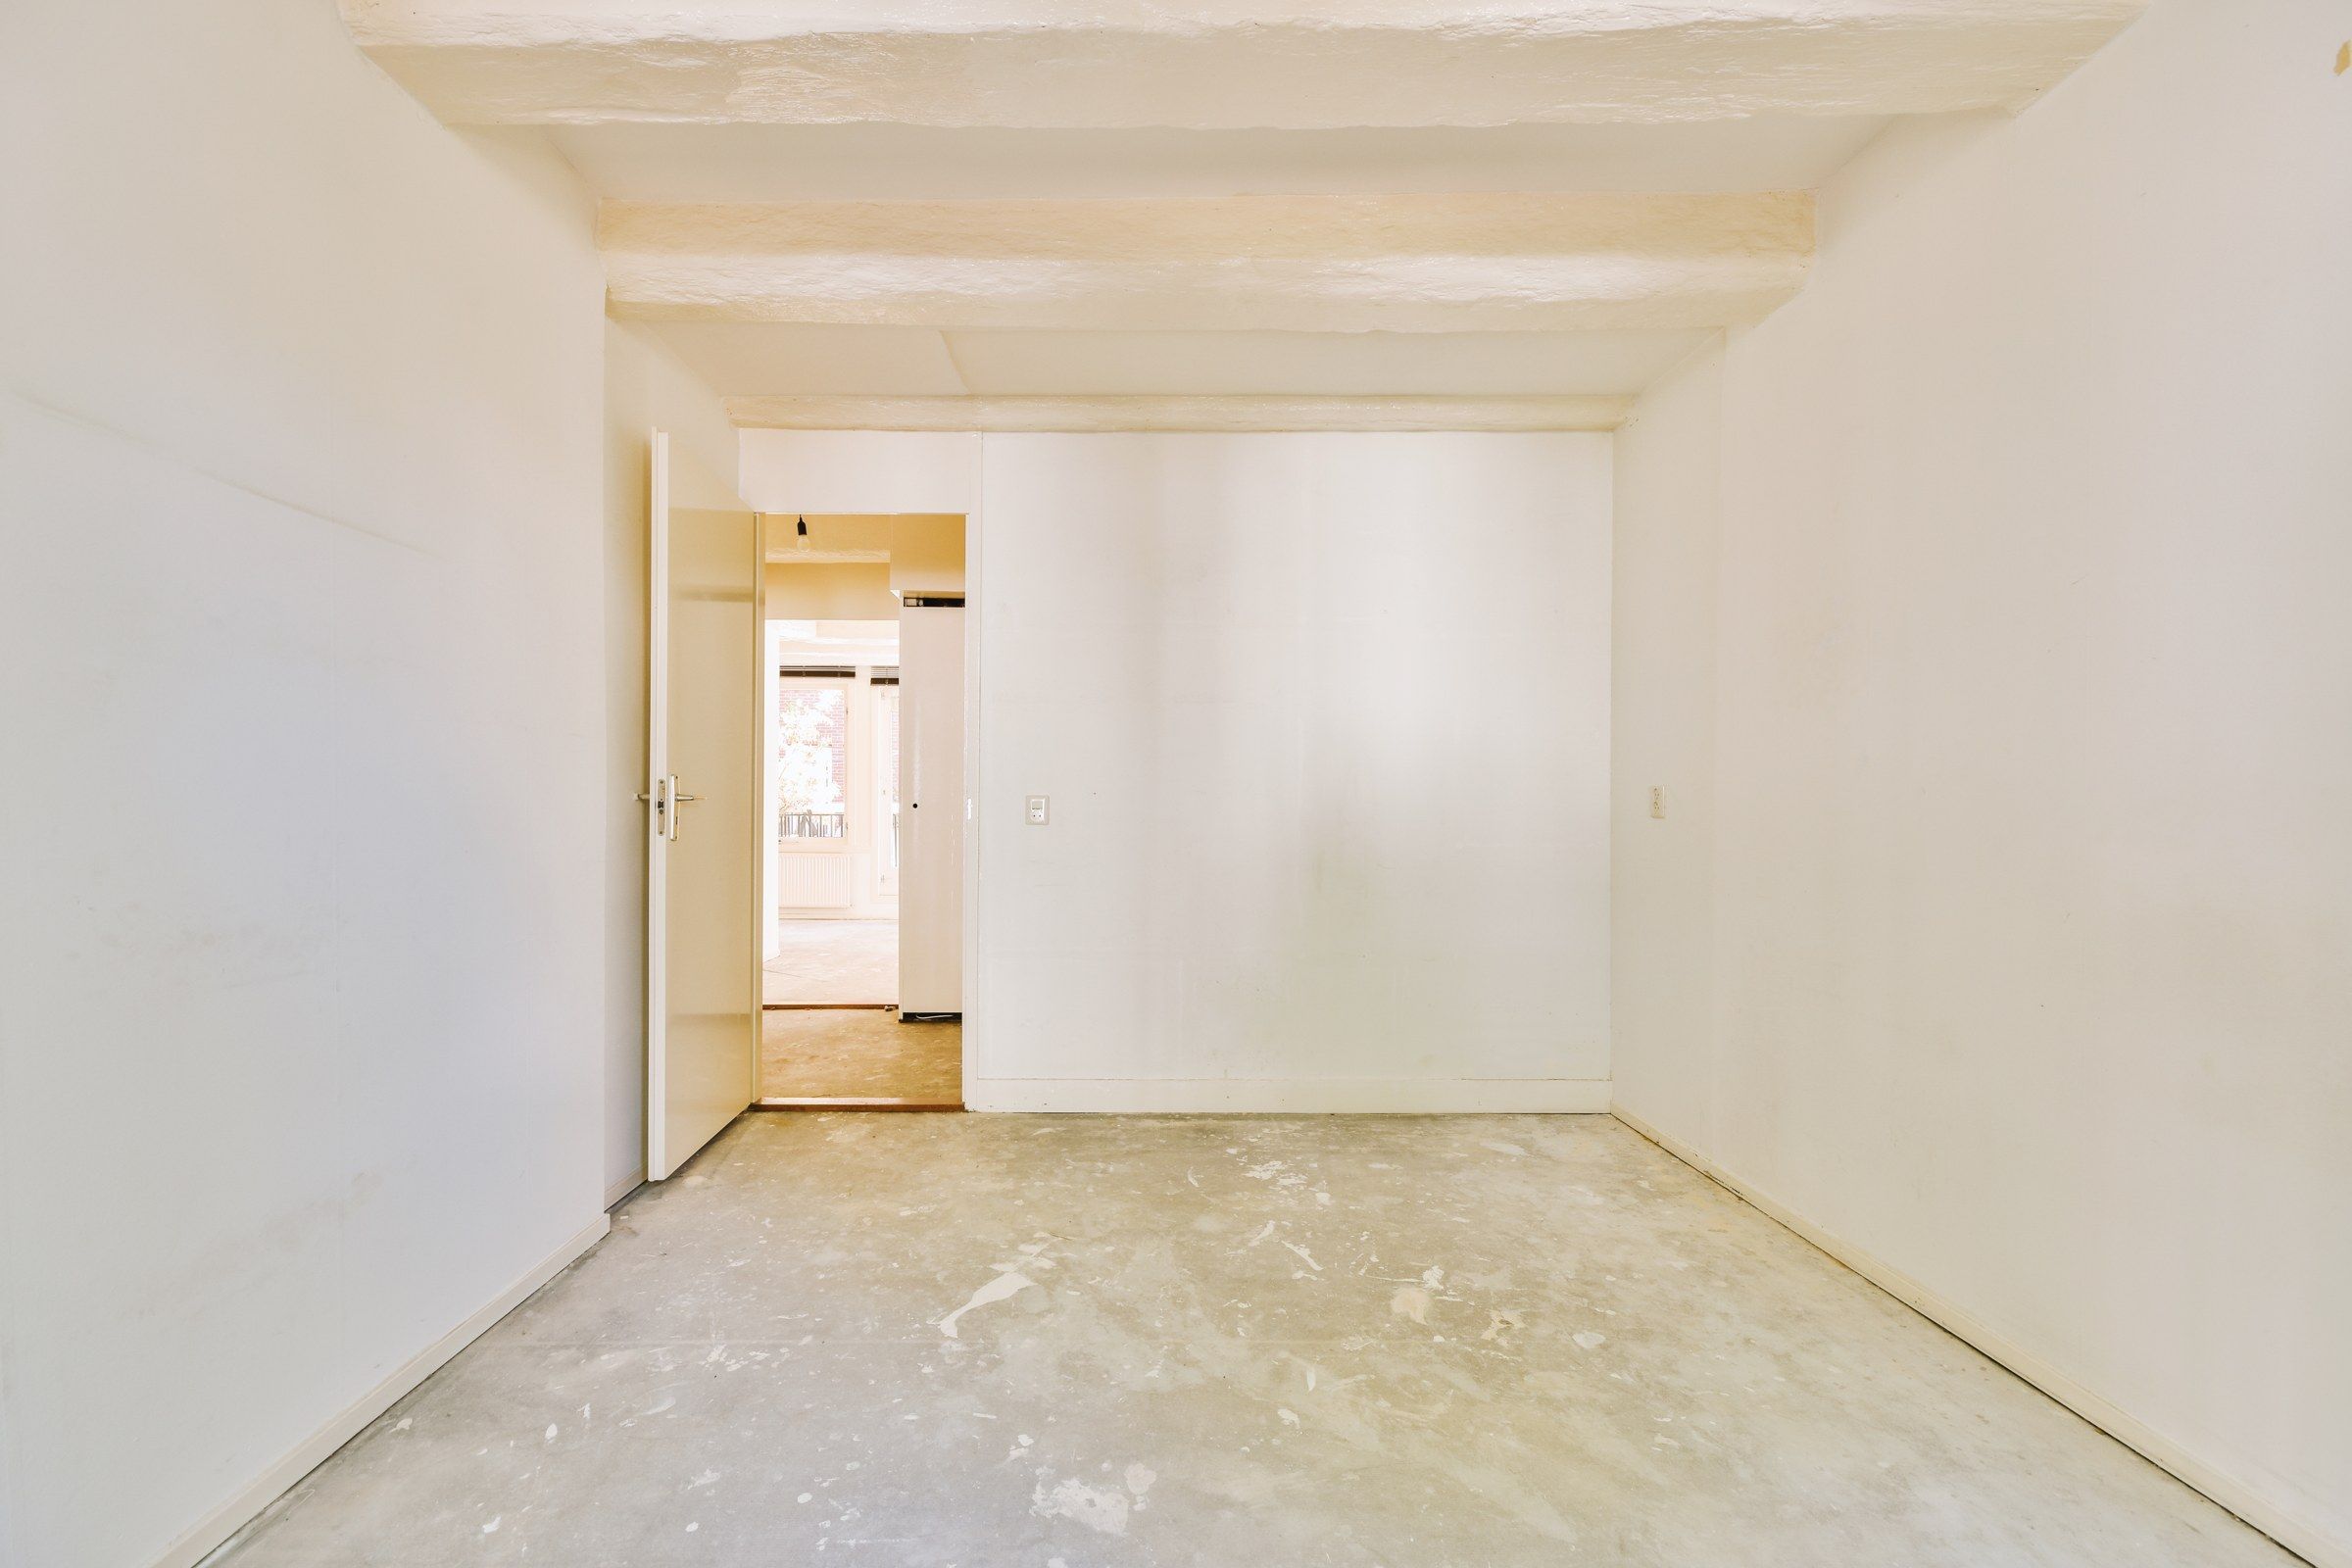
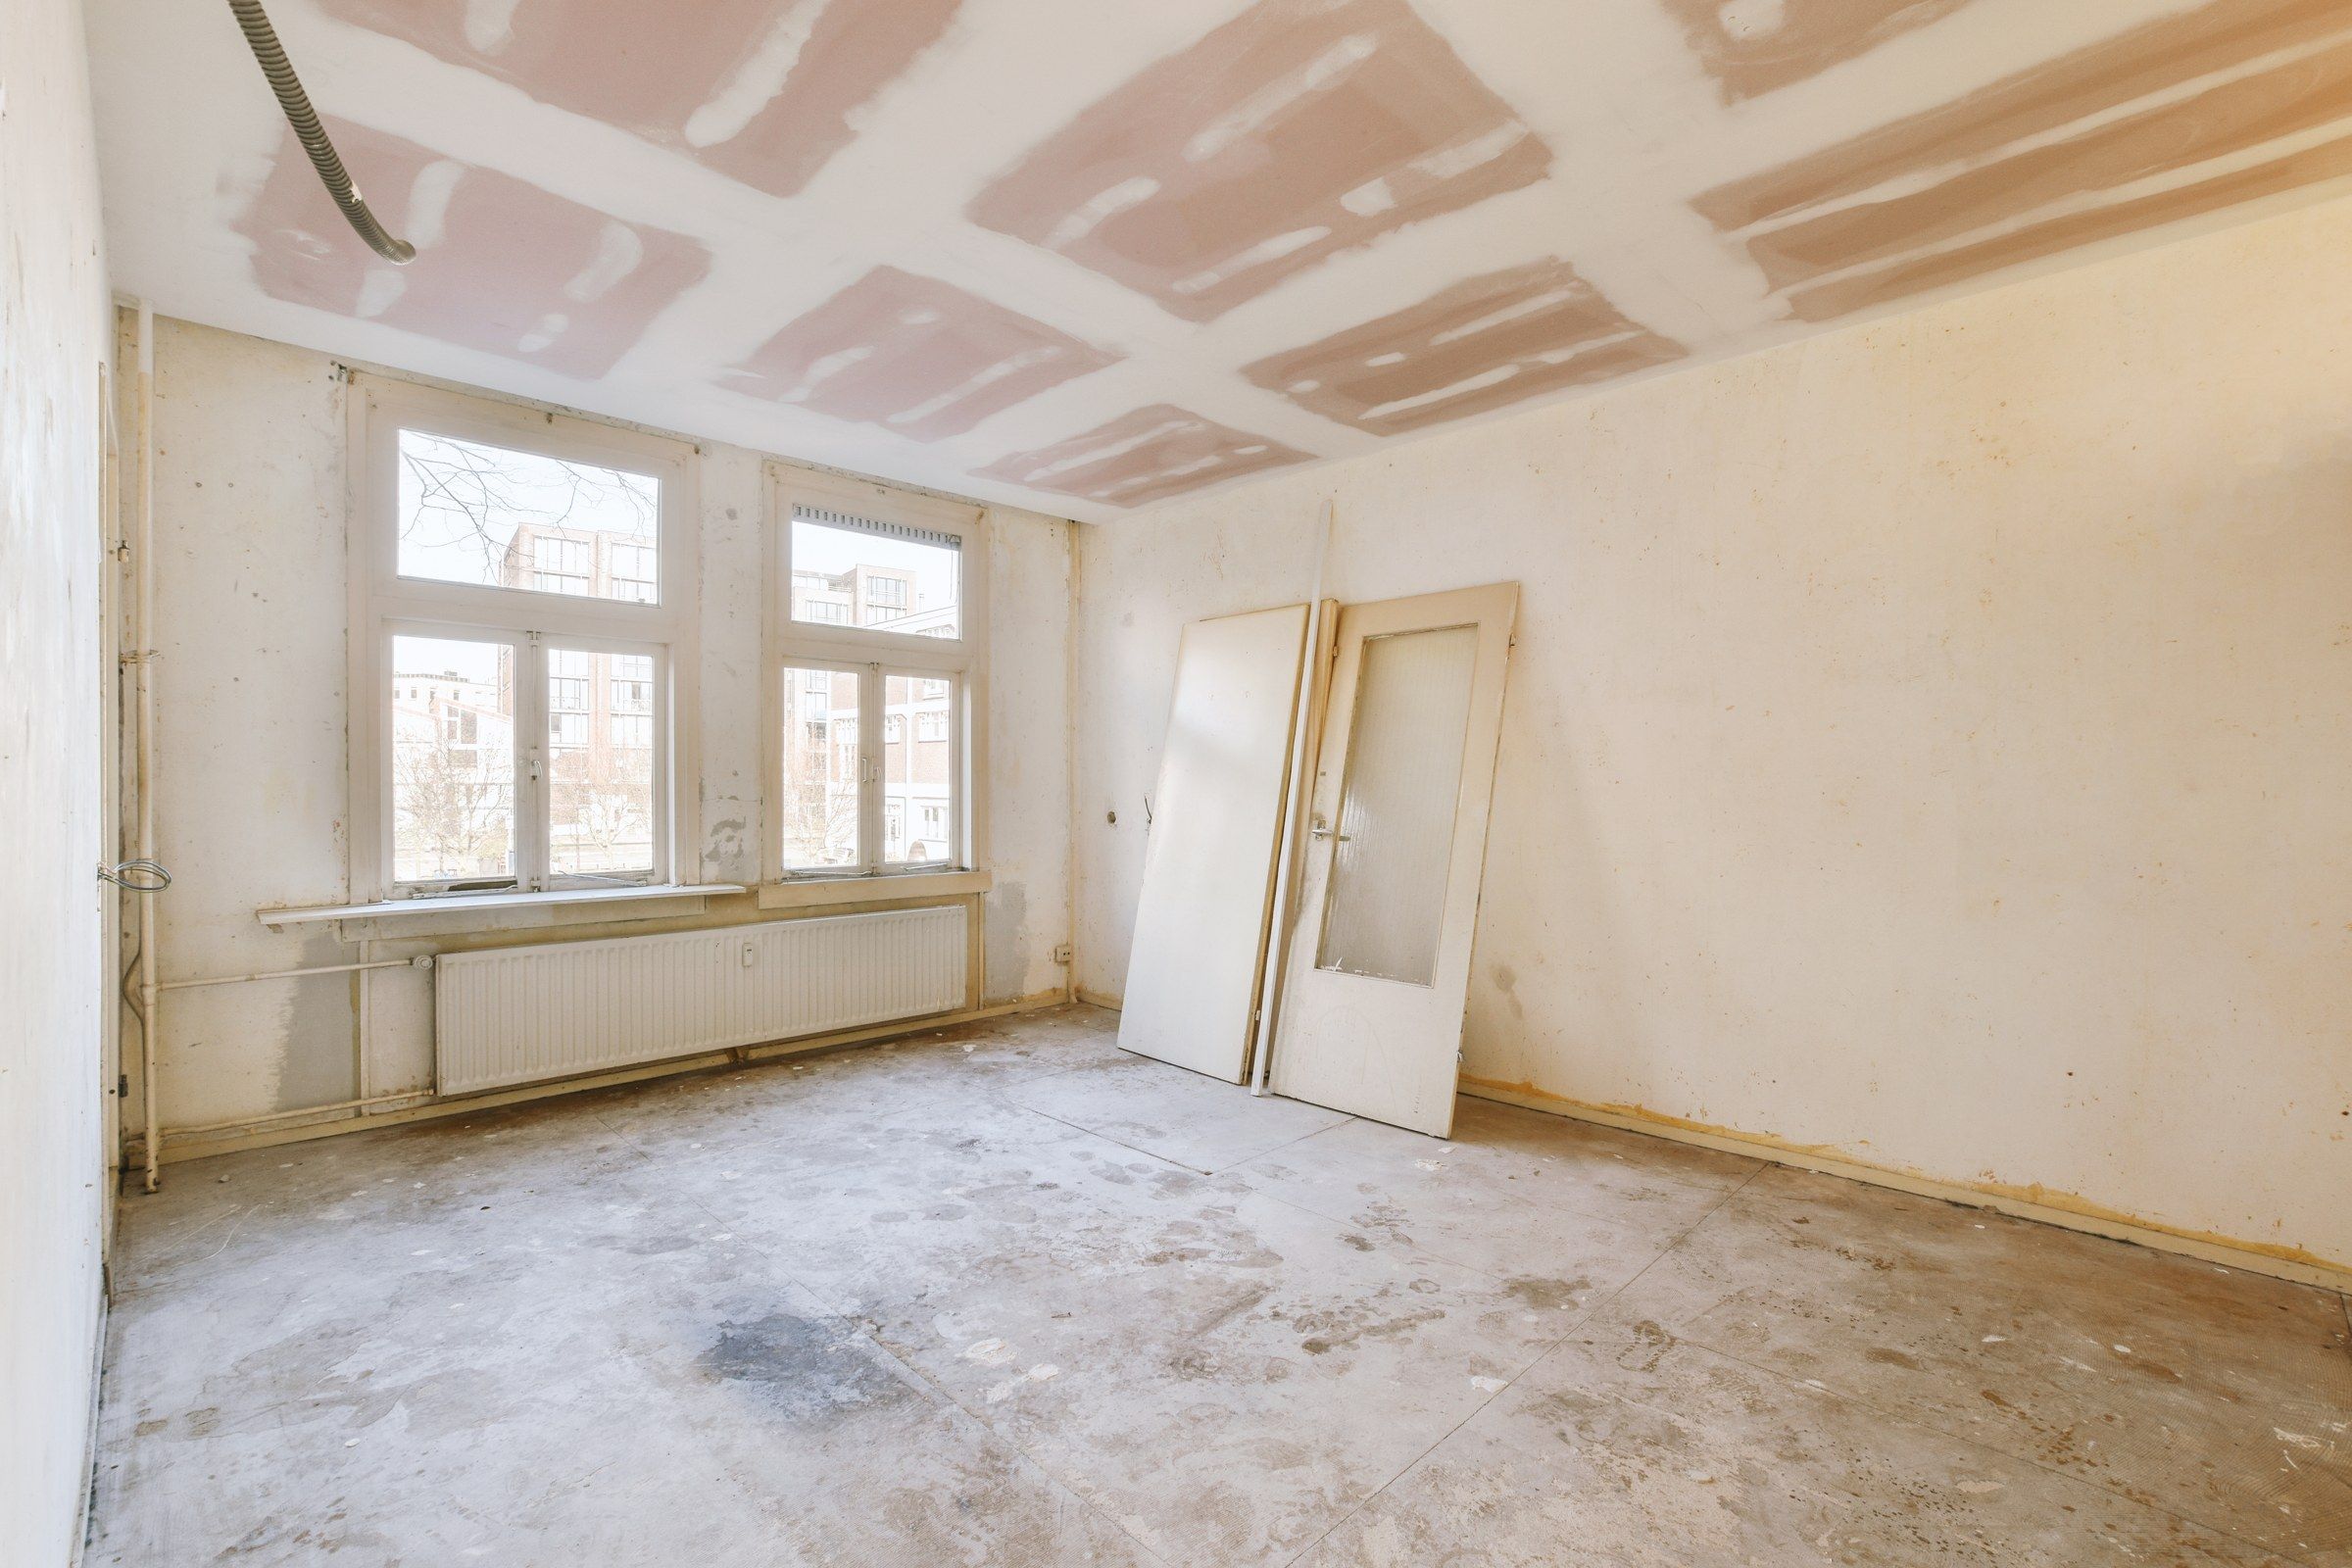
Illustrative stock photographs, not a project of our own.
Installing in Wauwatosa
Getting twelve-foot sheets up a 1920s staircase with a turned newel and original plaster on both sides is its own small art. We measure the route before we order and bring shorter board where the house requires it.
Remodels here are permitted and inspected by the city. Board goes on only after framing, mechanical and insulation inspections are complete, and we schedule around them.
Questions on drywall installation
Do you supply the materials?
Ordinarily yes: board, fasteners, bead and compound are included in our proposal.
Can you match the thickness of my plaster walls?
Yes. We measure it and build the new wall out to suit, so trim returns without gaps.
What must be finished before you start?
Framing, rough electrical and plumbing, insulation, and their inspections, in a heated and weathertight space.
How long does hanging take?
A room, a day or so. The finishing that follows takes the better part of a week.
Will you hang only?
We can, though we prefer to carry a wall through to its finish.
Related
Work often done alongside
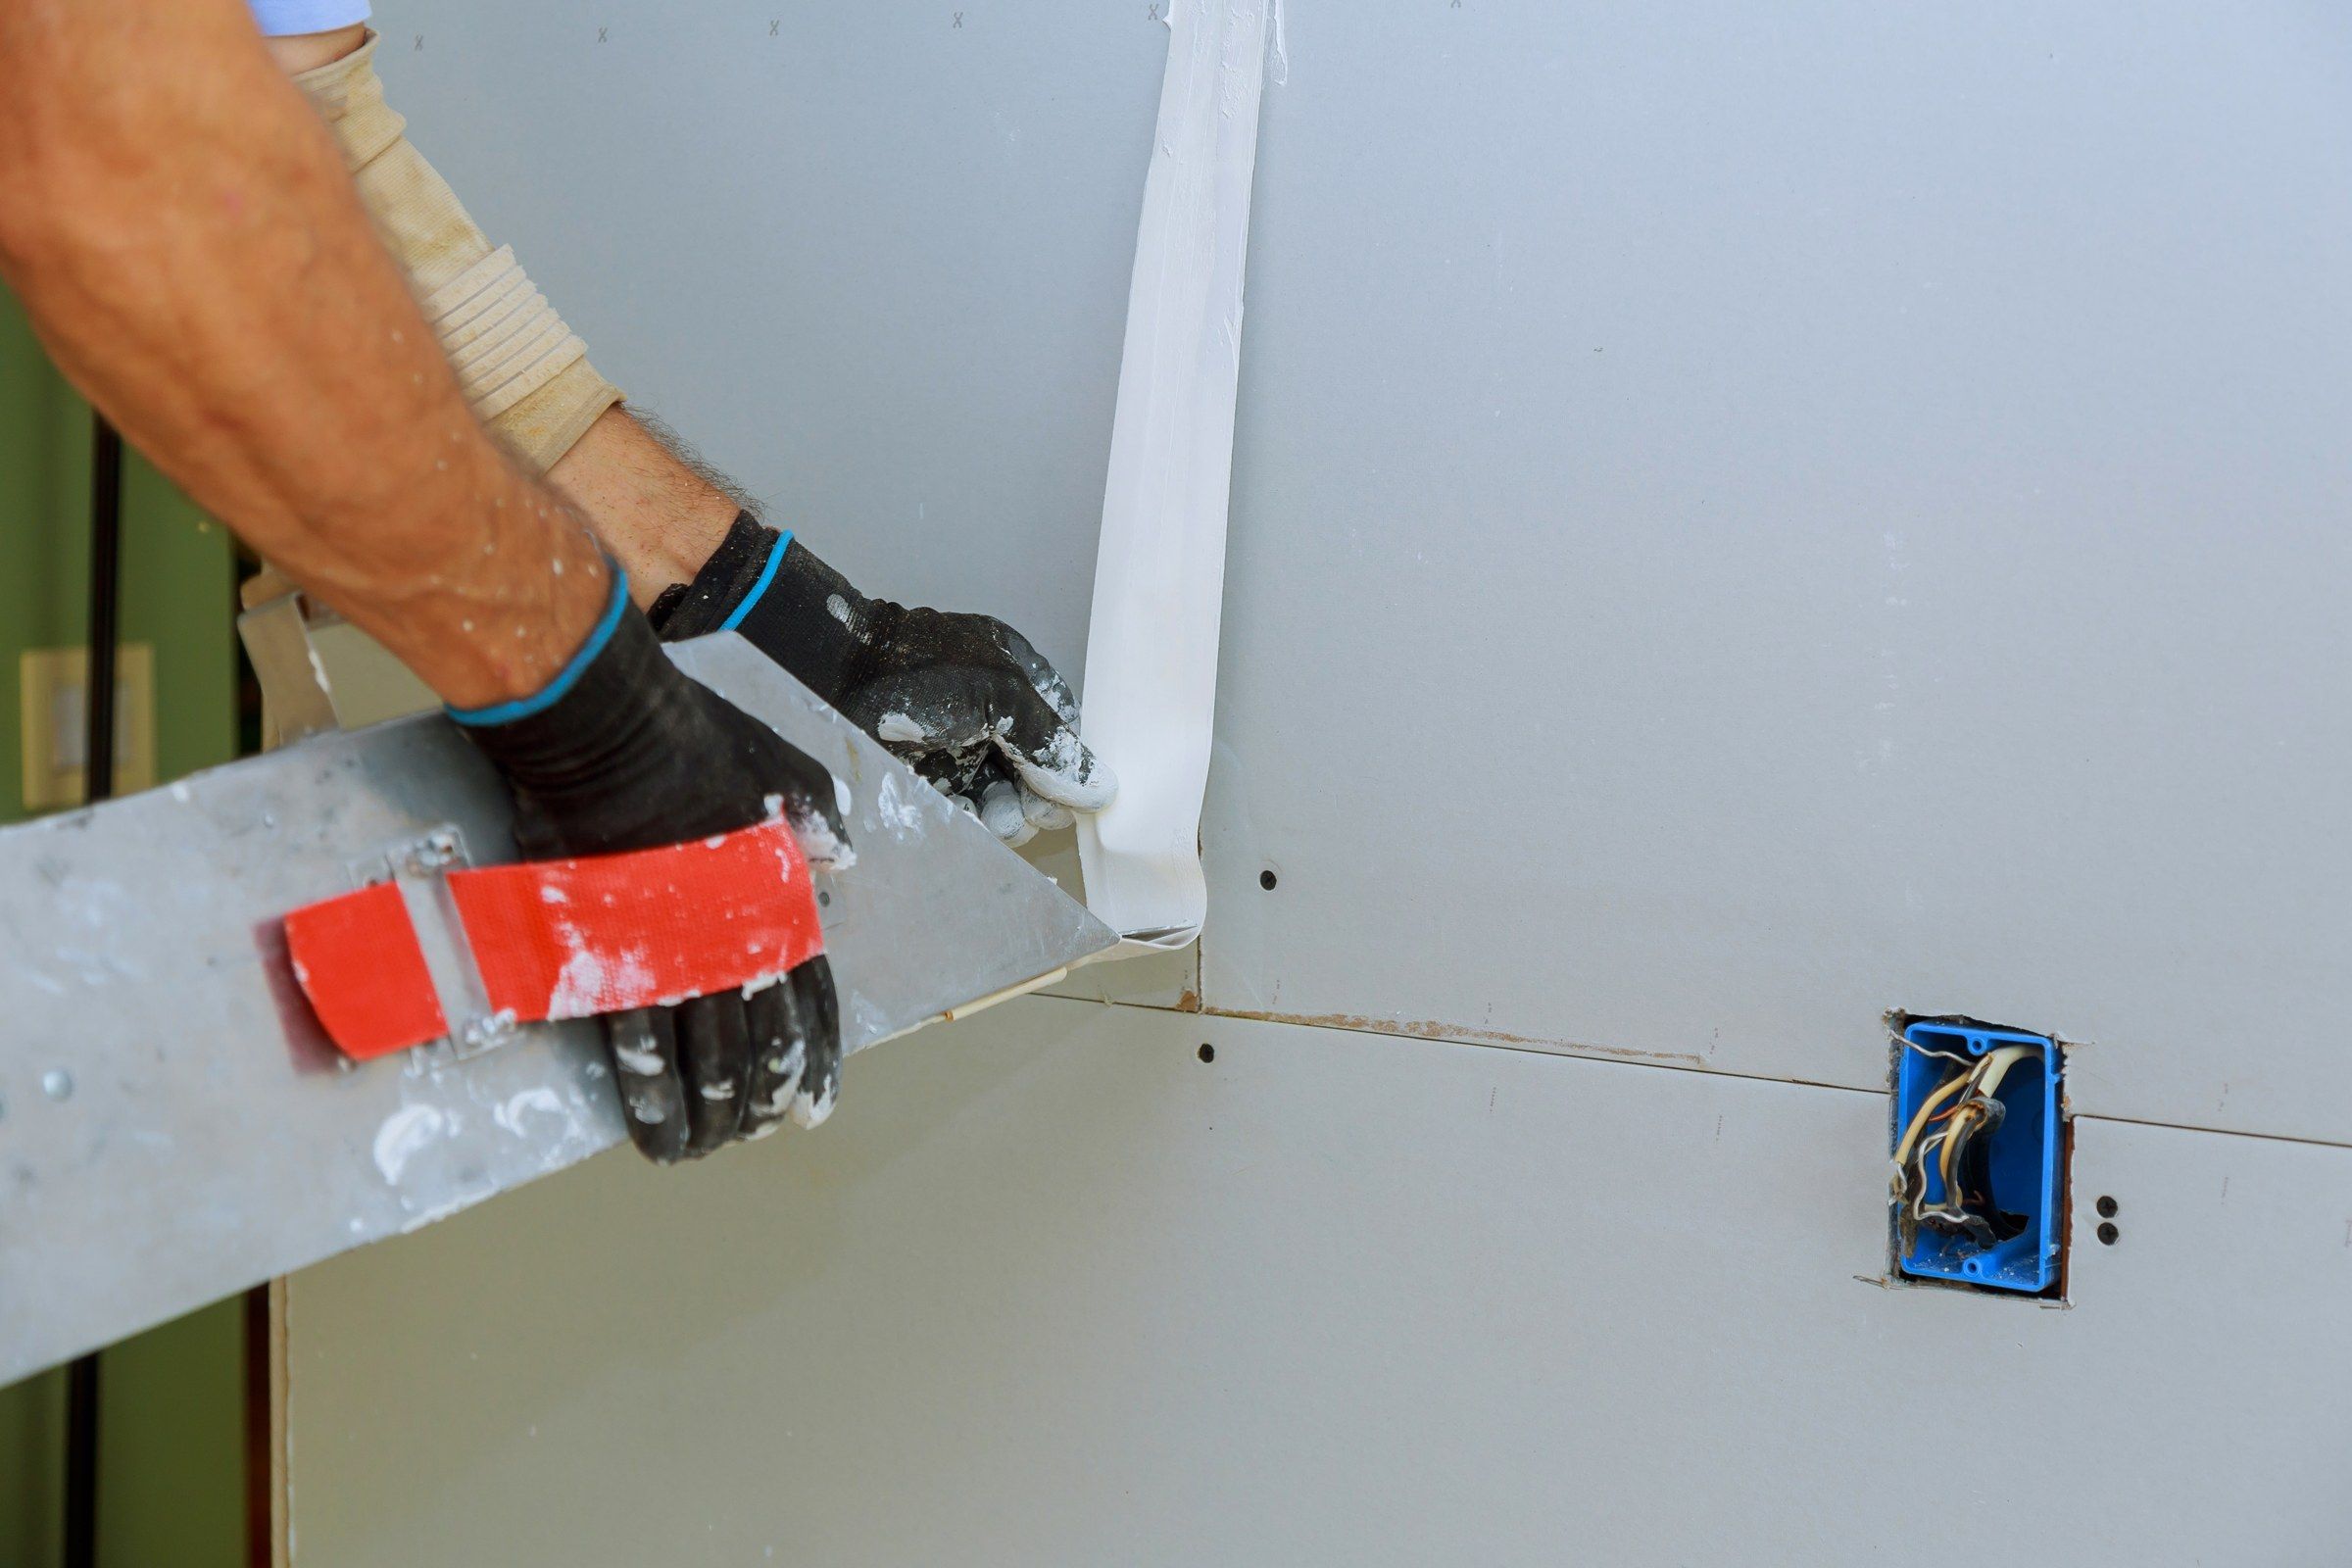
Drywall Taping & Mudding
Joints, corners and fasteners brought patiently to a seamless surface.
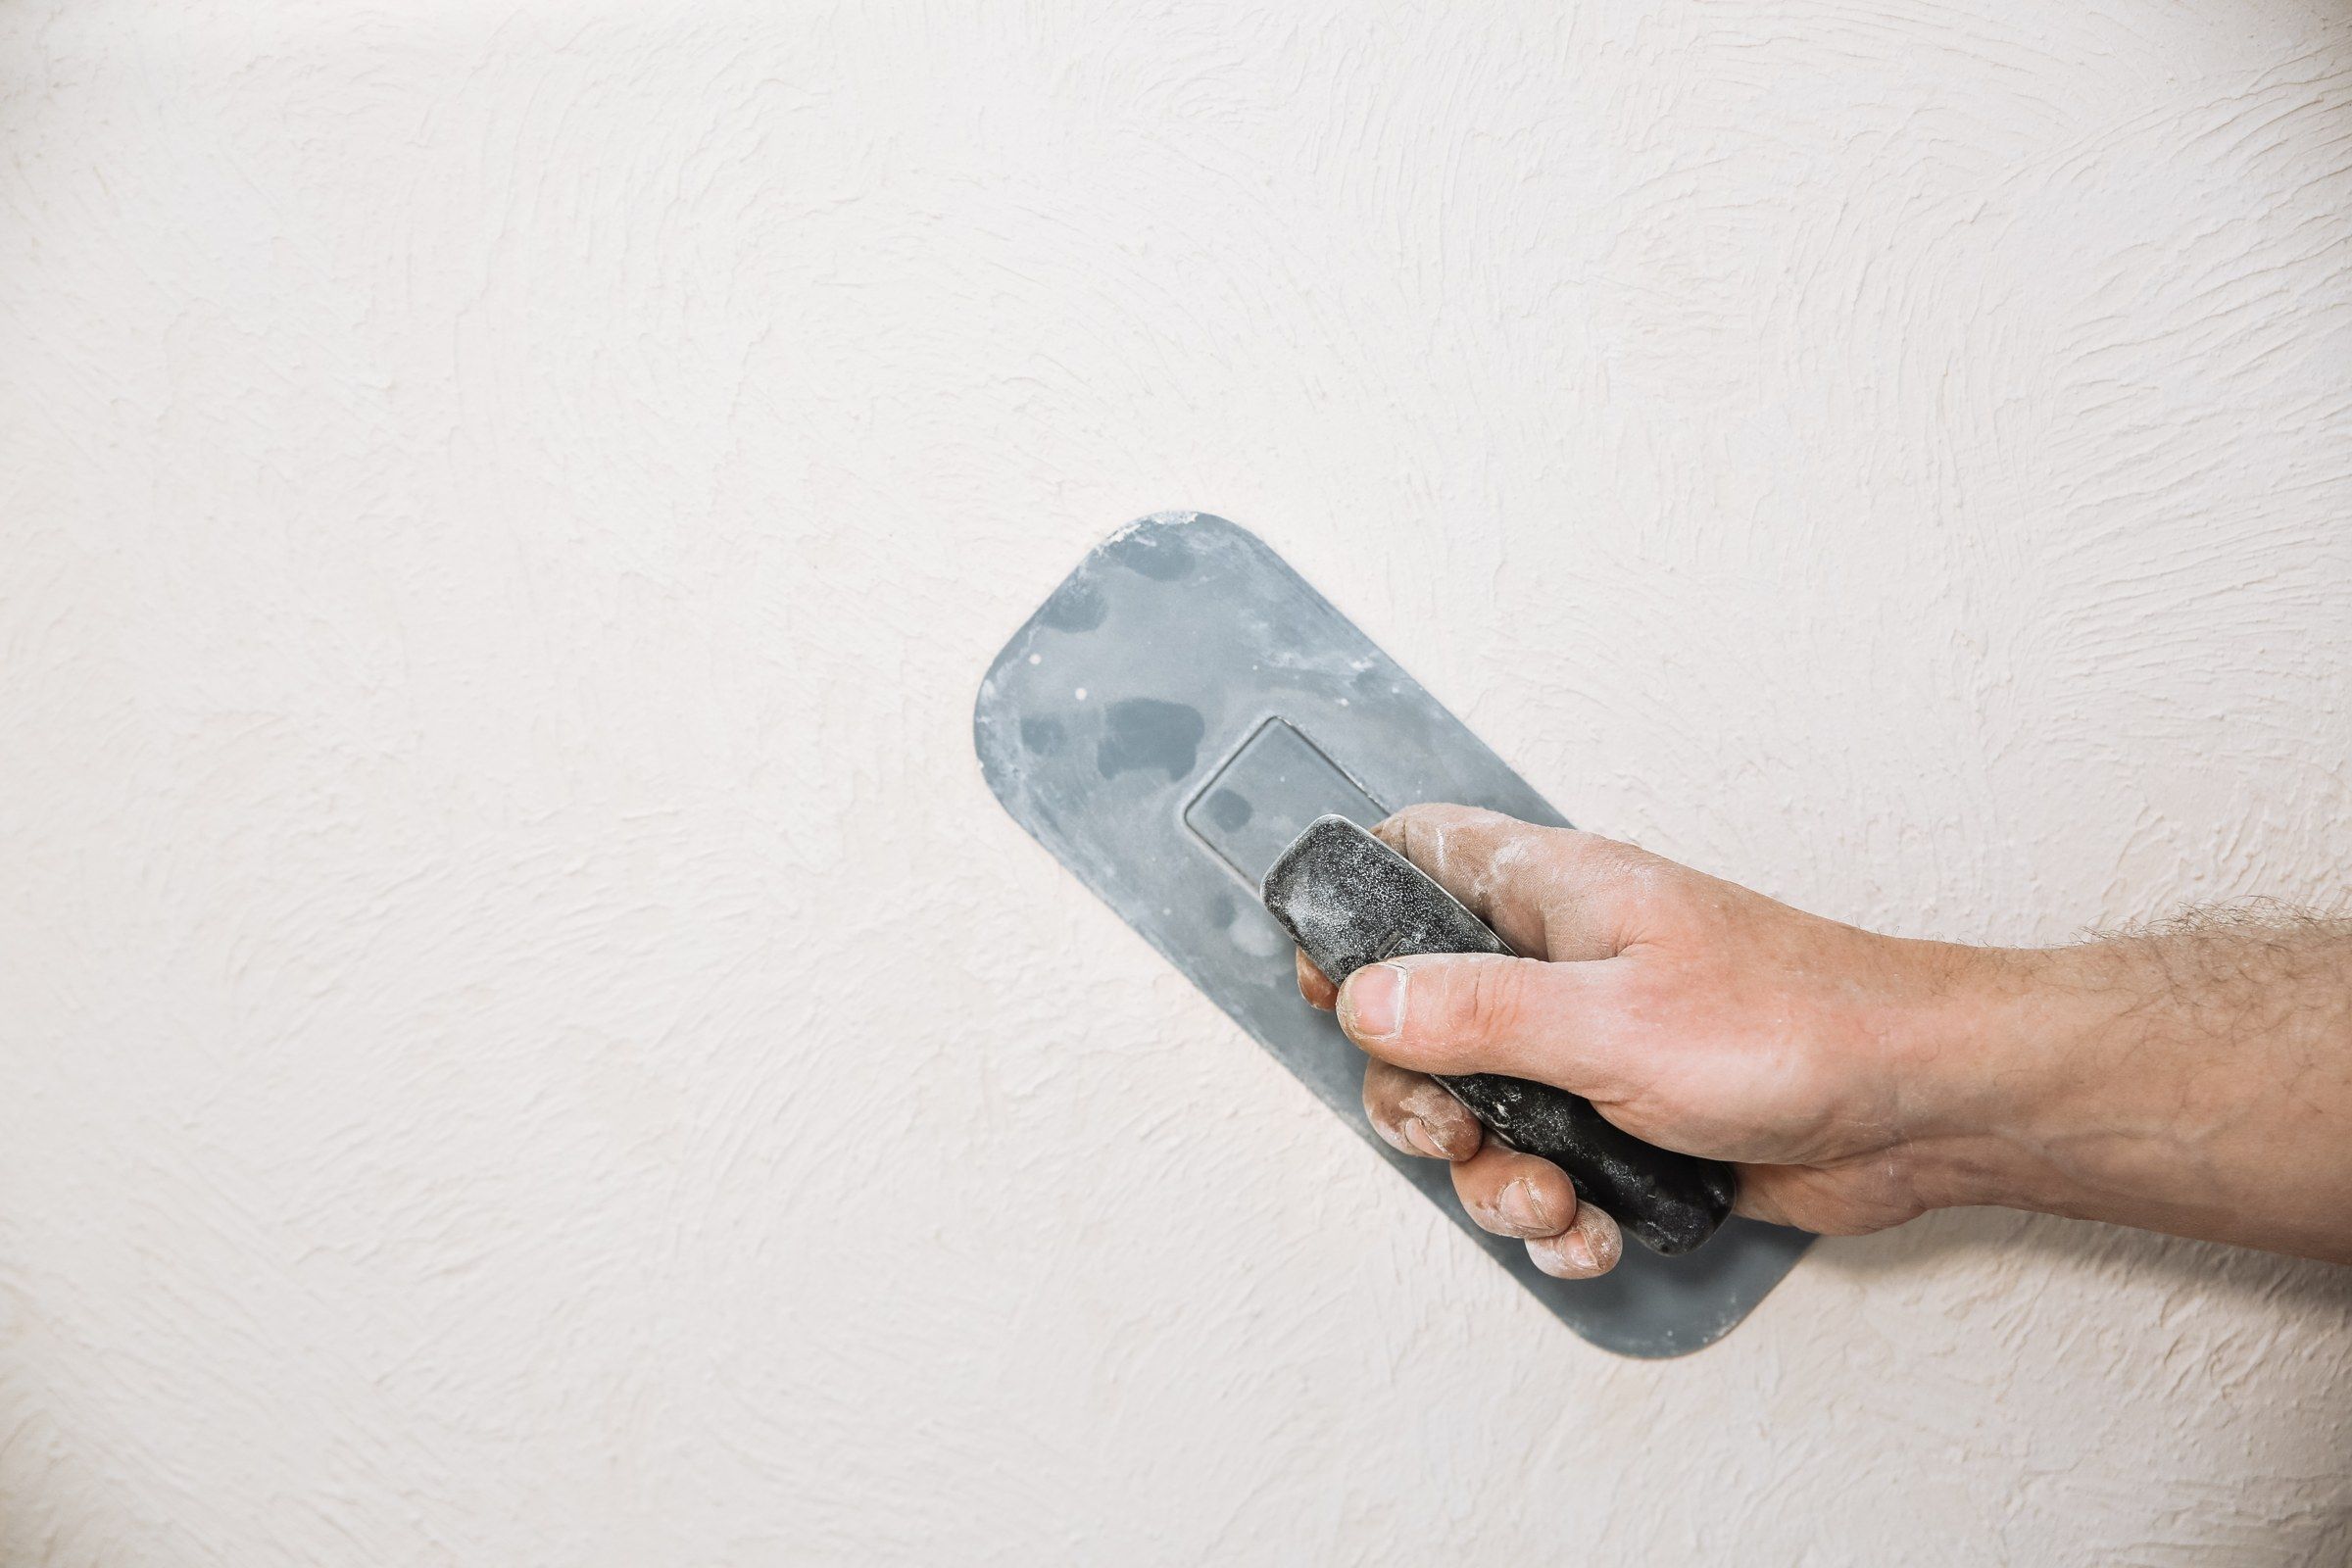
Drywall Finishing
Level 5 surfaces, skim coats and plaster-like finishes for rooms that deserve them.
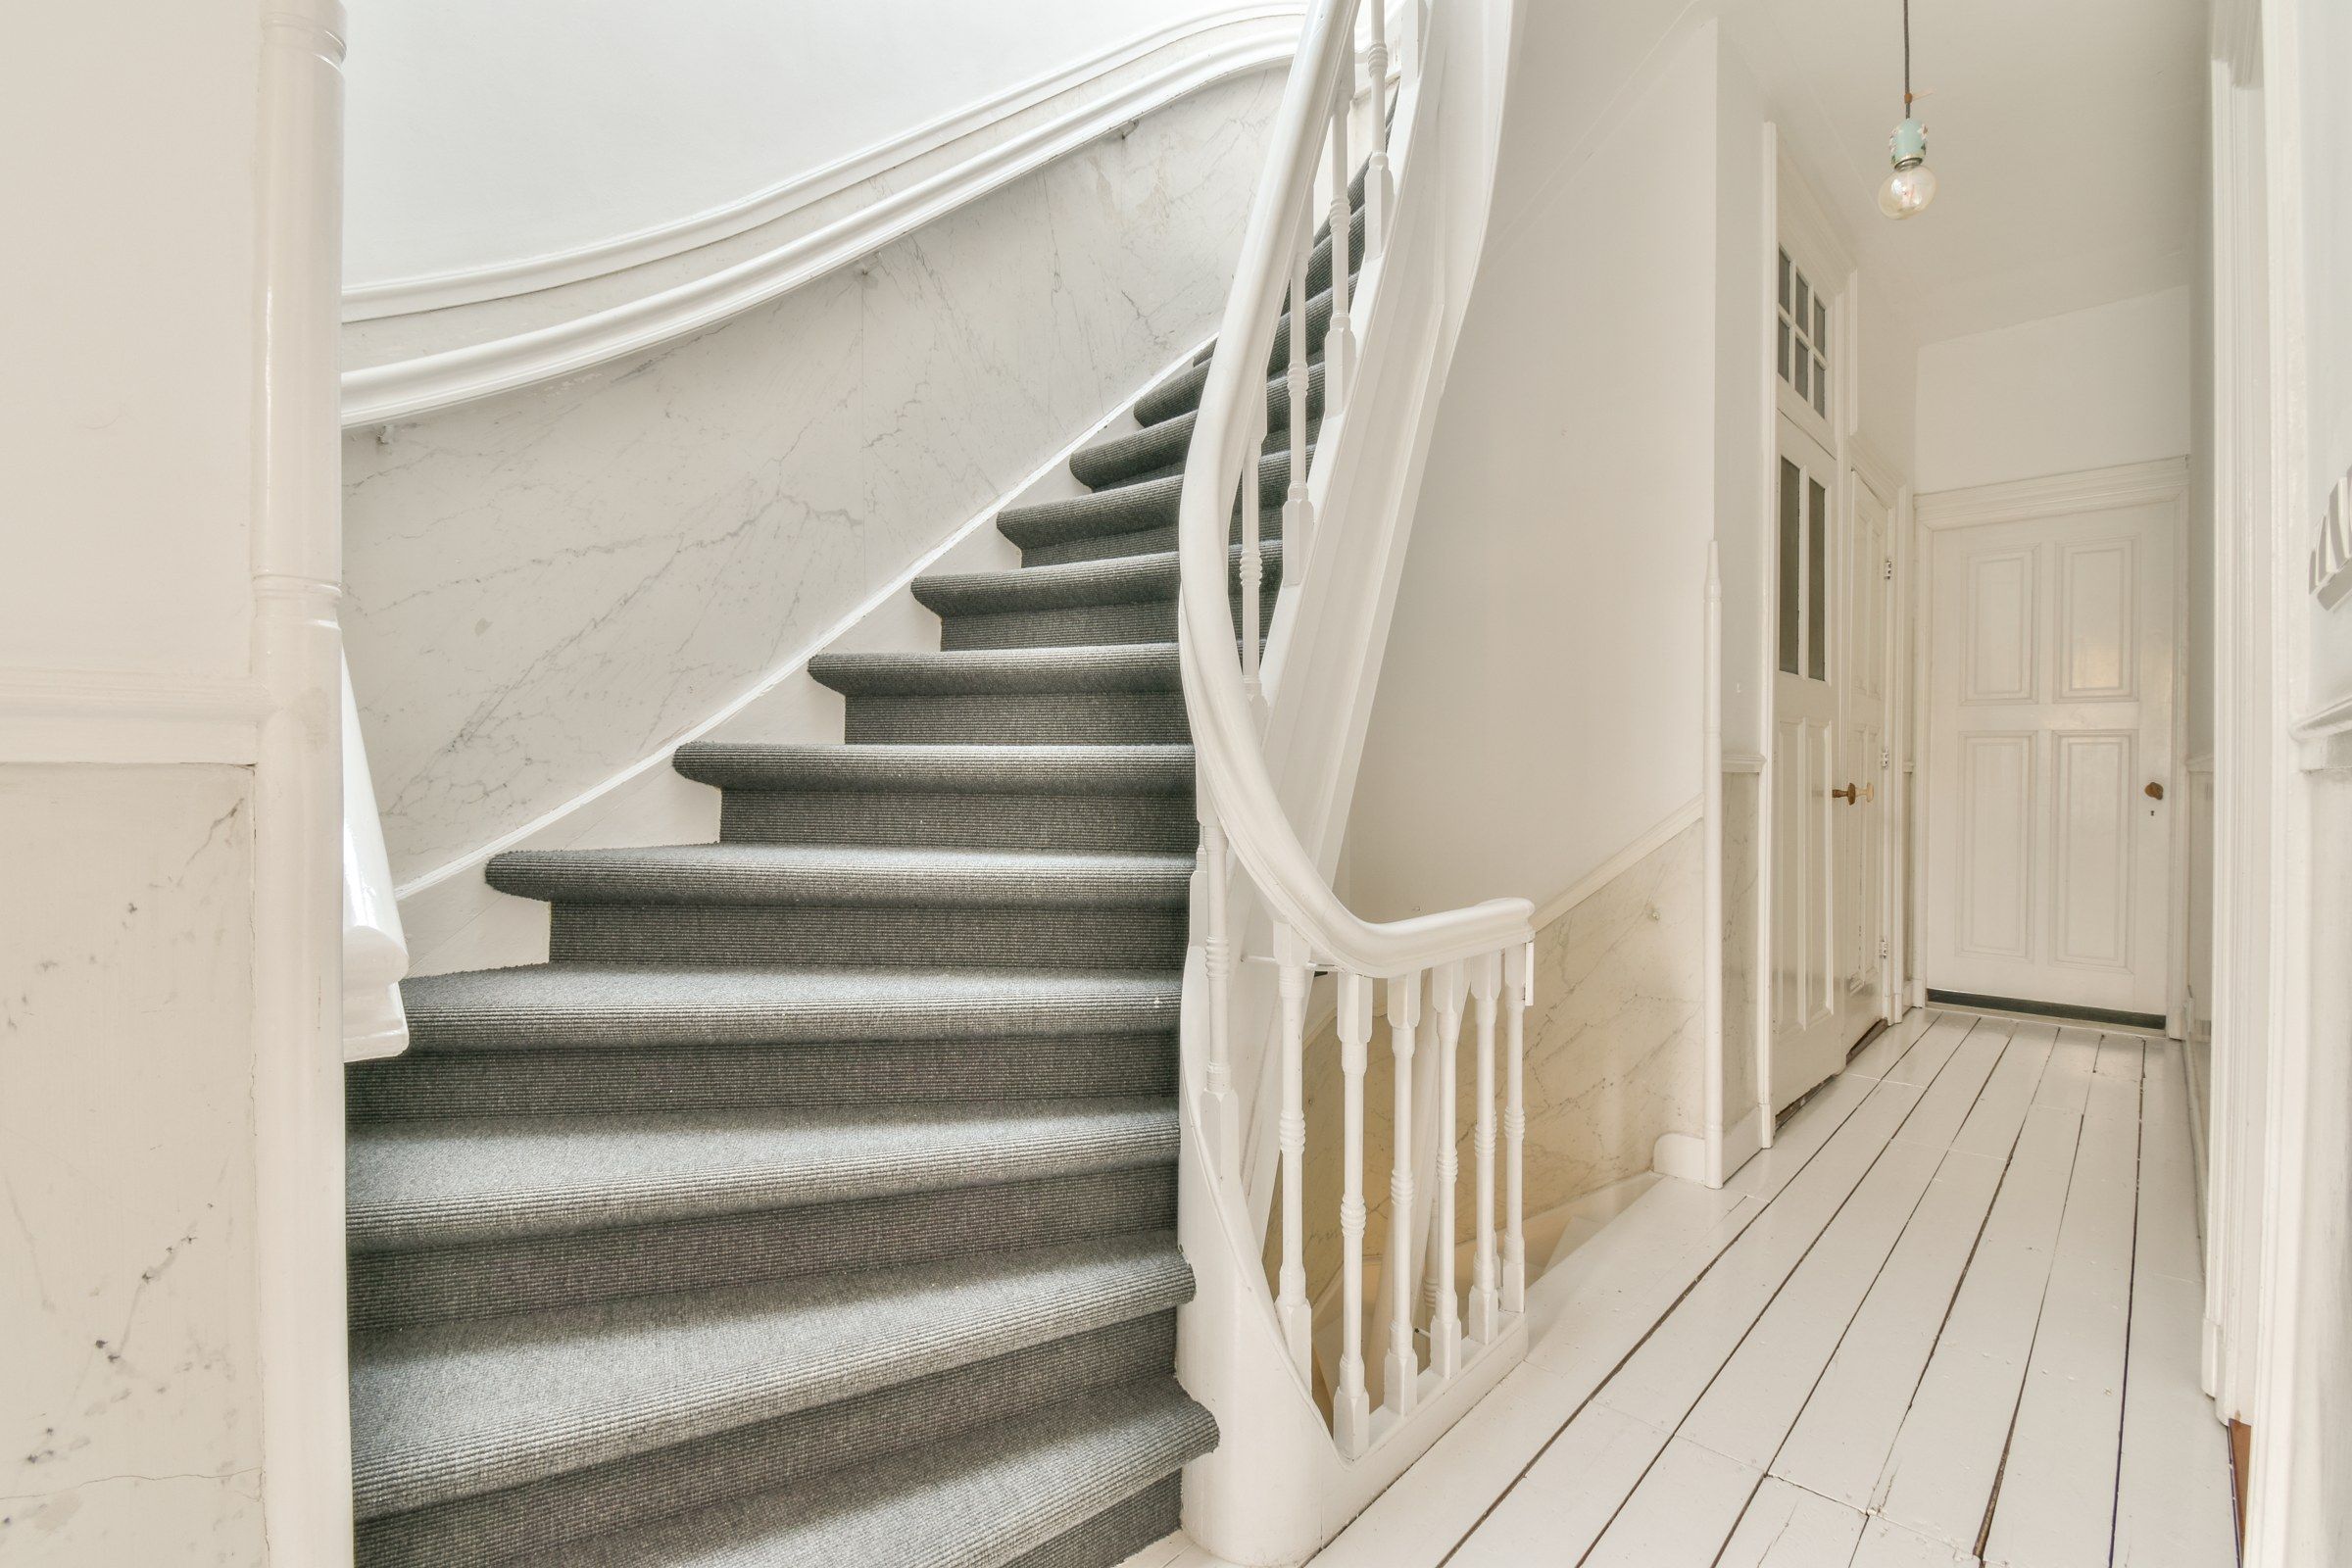
Residential Drywall Services
Drywall and plaster-sympathetic work for the houses of Wauwatosa.
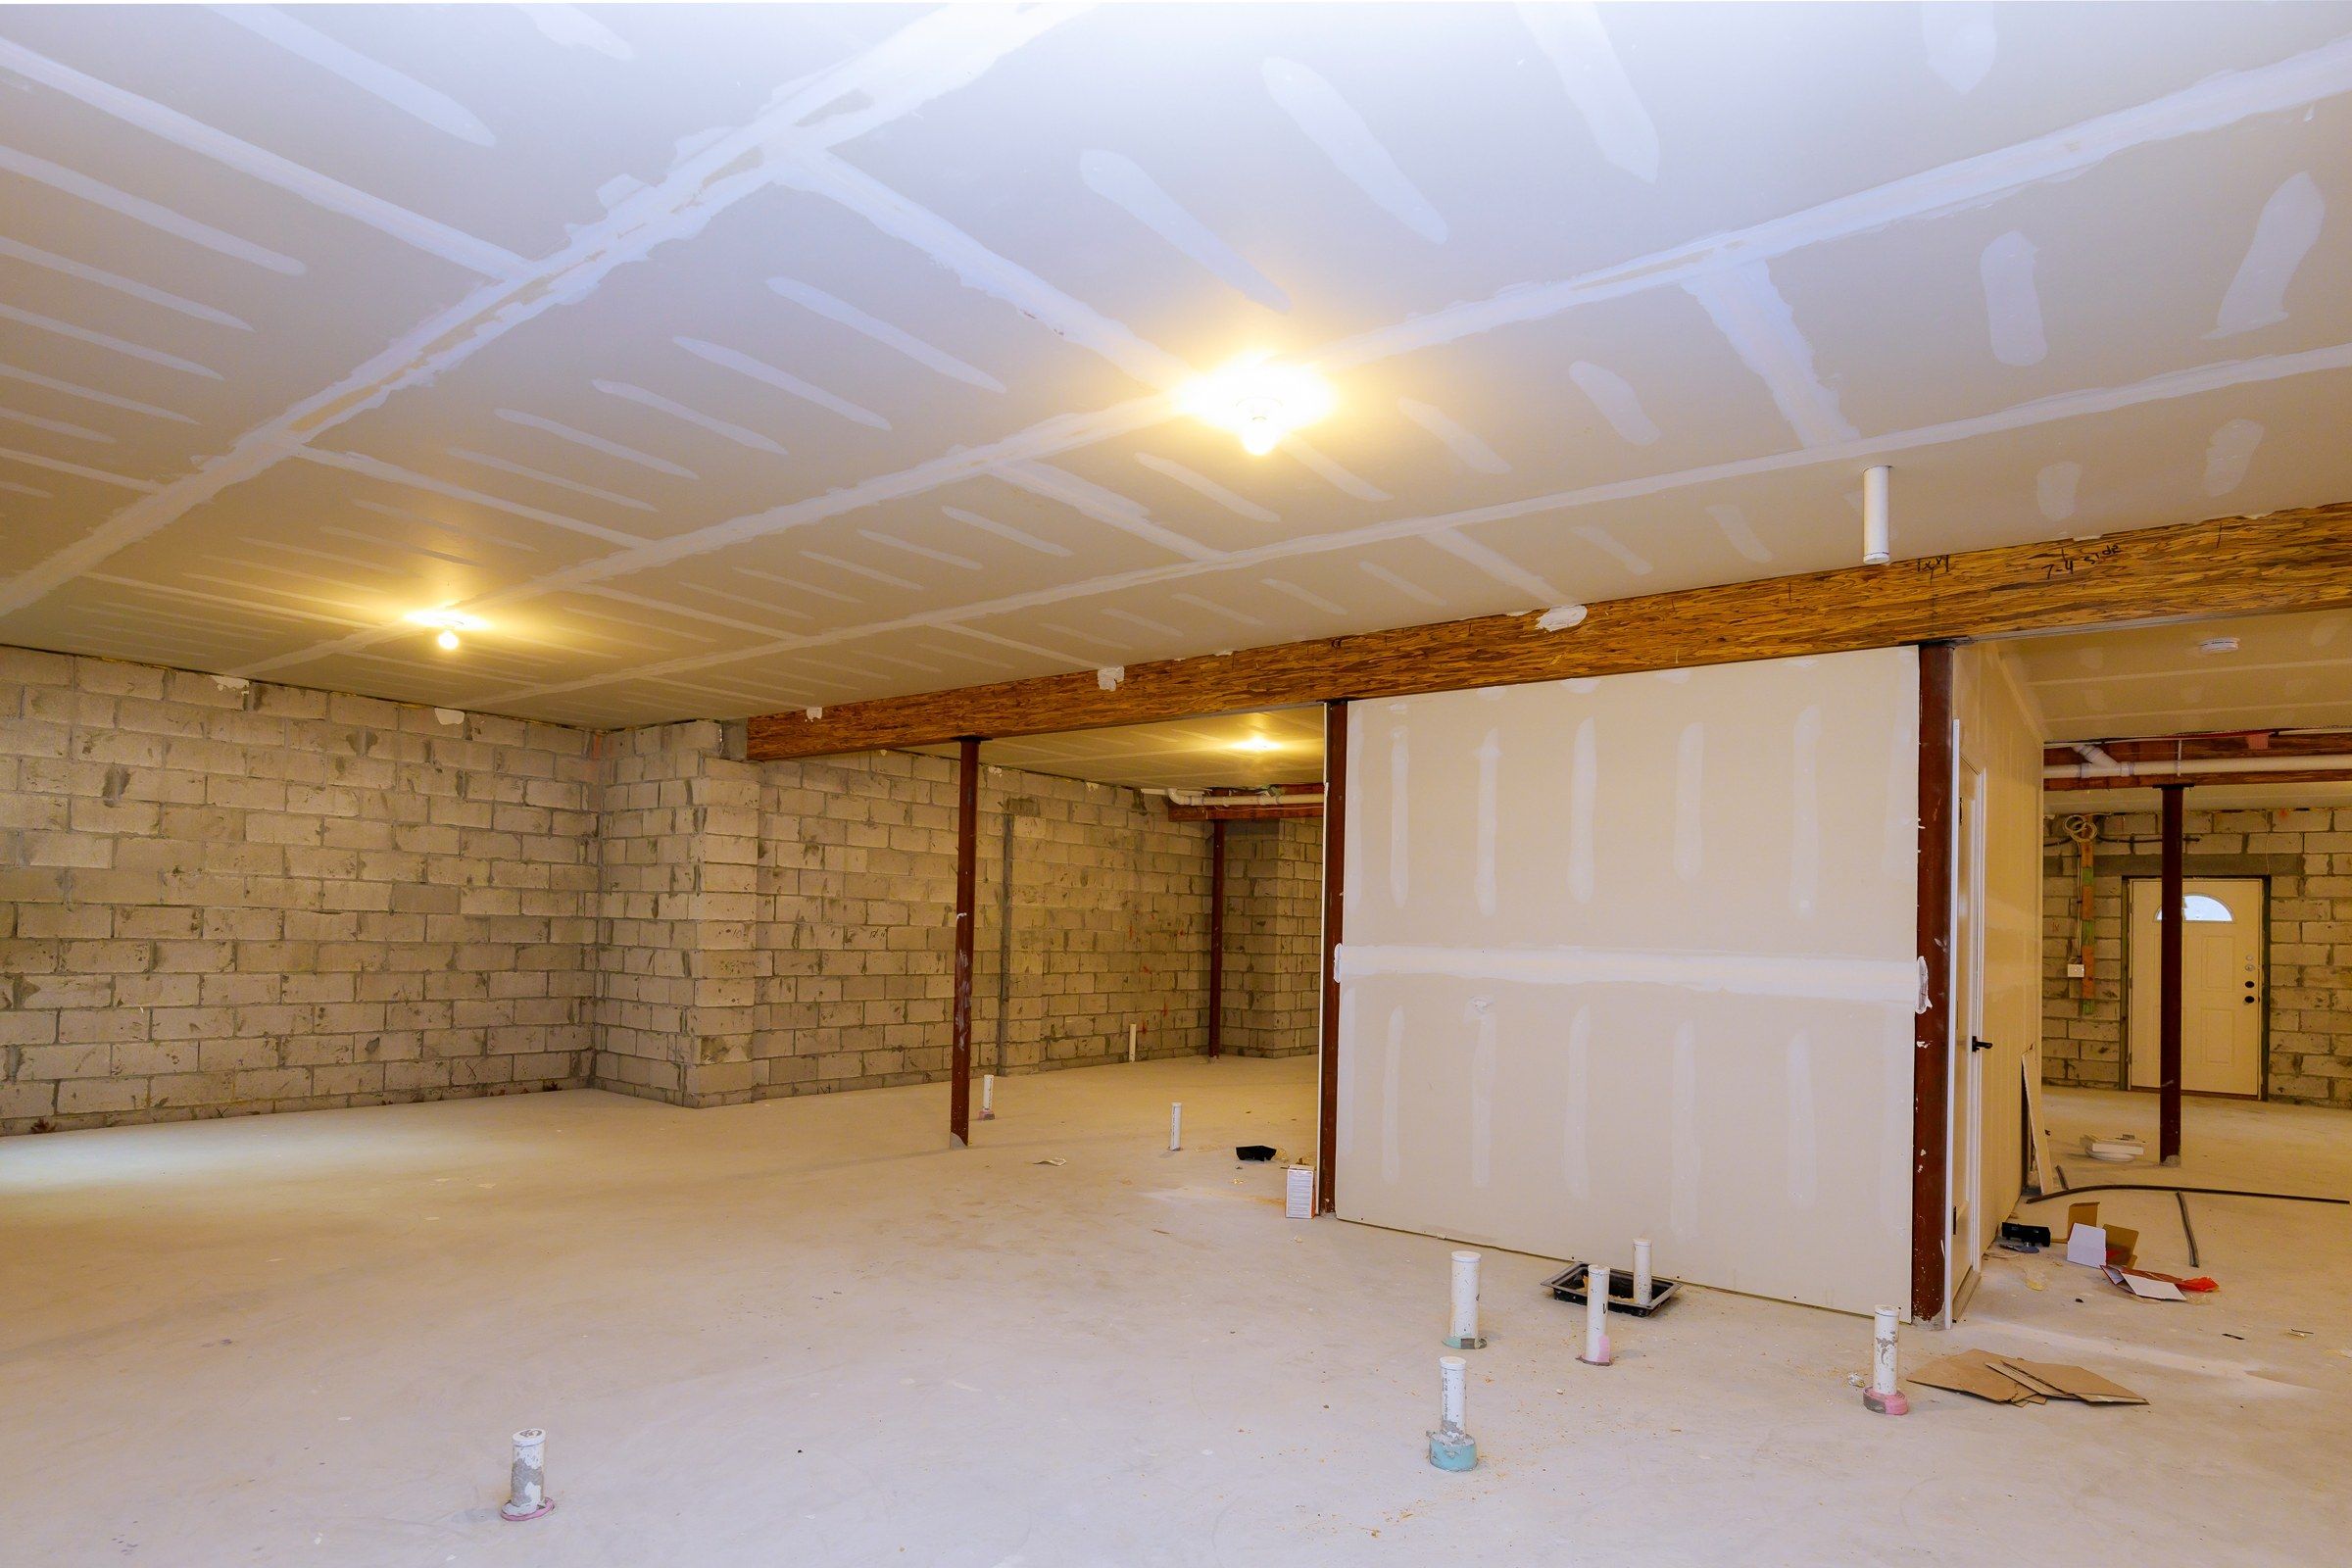
Basement Drywall Installation
Lower levels finished with respect for old foundations and low ceilings.
May we quote for this?
Tell us about your drywall installation project in Wauwatosa. A written estimate follows, without charge.
Get a free estimate