
Finishing: the part you actually see
Smooth, even, quietly perfect surfaces, finished to suit the light in the room and the age of the house.
Get a free estimate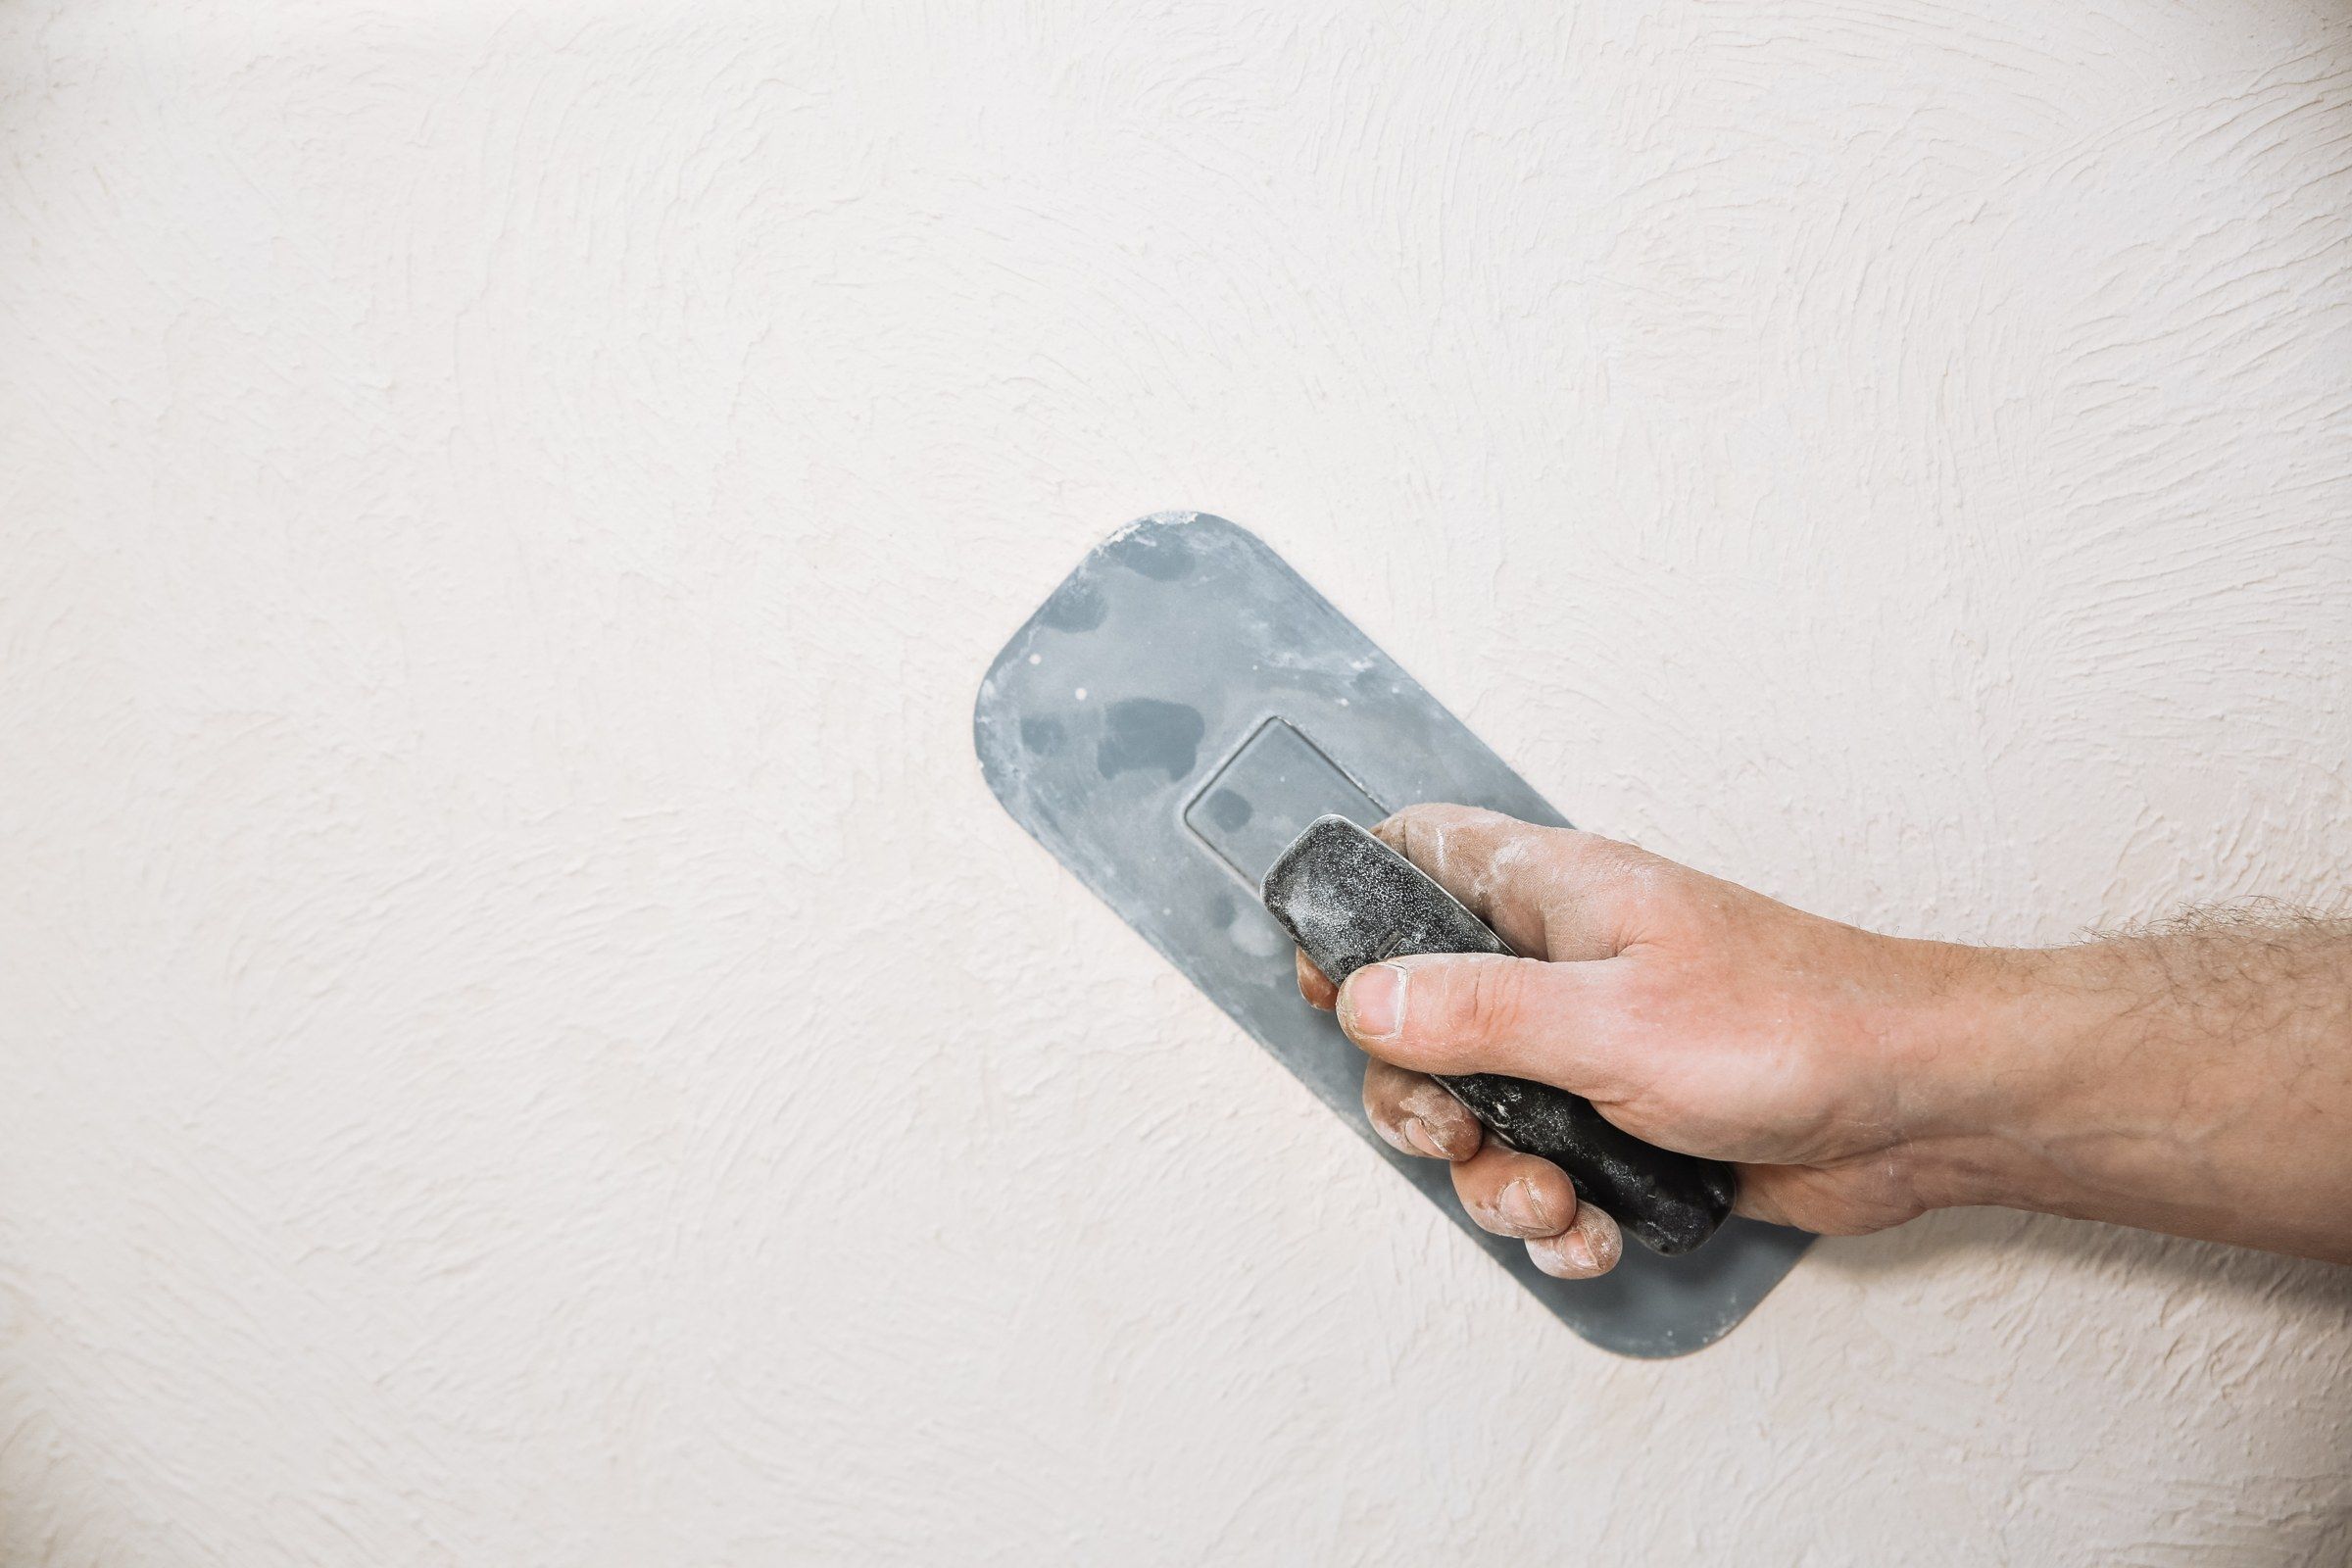
Everything before finishing is preparation. The framing, the board, the tape: all of it exists to carry the last, thin layer that the eye meets. That layer is perhaps a thirty-second of an inch thick, and it decides whether a room feels serene or slightly wrong.
Finishing is the heart of what we do. We work to Level 4 as a matter of course and to Level 5 wherever the light or the paint will be demanding. In older houses we can also give new drywall the soft, monolithic character of plaster.
Levels of finish
A Level 4 finish has three coats over every joint and fastener, sanded smooth. Under flat paint and ordinary light it is entirely satisfactory.
A Level 5 finish adds a skim of compound over the whole surface, so that board paper and joints are indistinguishable in texture and absorbency. It is what prevents the faint banding called joint photographing, and it is the right choice for walls under raking daylight, picture lights or any paint with sheen.
Where a finer finish belongs
- Rooms with tall or west-facing windows
- Low sun finds every joint.
- Stair halls
- Tall walls viewed obliquely as you climb.
- Dining rooms and libraries
- Deep colors and candlelight are unforgiving.
- New work beside old plaster
- A skim unites the two.
- Walls stripped of wallpaper
- Scarred surfaces renewed with a full coat.
How we finish
Decide the standard
Room by room, considering light and paint.
Complete the joint work
Three coats, fully dry between.
Skim
One or two full coats, laid on and trowelled tight.
Sand under a lamp
Fine abrasive, with light held close and low.
Review
A final pass together before the painter begins.
A plaster-like finish
New drywall can look thin and sharp beside ninety-year-old plaster. A trowelled skim, with very slightly eased corners, gives it the same visual weight. For a closer match still, a veneer plaster system over blueboard produces a genuinely hard, plaster surface.
We also reproduce the fine sand finish found in many Wauwatosa houses of the 1920s and 30s, and make a sample for approval before proceeding.
What a fine finish gives a room
Calm
Nothing on the wall catches the eye.
Depth of color
Paint reads true on an even ground.
Continuity
New work at one with the old.
Confidence
In any light, at any hour.
On cost, and what moves it
Finishing is priced by level, and the proper level is the one that suits the light and the paint, not the highest on offer. The ordinary standard, three coats sanded smooth, serves well under flat paint in rooms of average light. The higher standard adds a thin coat over the whole surface. It is worth its cost where daylight runs along a wall, where the paint has any sheen, or where the color is dark.
The condition of the surface matters as much as the level. New board is one starting point. A wall that has been patched and repainted for ninety years is quite another, and may want scraping, repair and two or three passes before it is flat.
Light in older rooms
The houses of the 1910s and 20s were built with tall windows, and often with windows on two sides of the principal rooms. The effect is lovely, and it is hard on walls. Low morning and evening light crosses the plaster at a shallow angle and finds every undulation.
Some of that undulation is character and ought to be kept. An old plaster wall is not flat in the way a sheet of drywall is flat, and a room skimmed to absolute flatness can look oddly new. What we aim for is a surface free of patches, ridges and cracks that still reads as belonging to the house.
Matching an old surface
Finishing in an older house is frequently a matter of matching. A new wall beside an old one should not announce itself. Original plaster was finished in several ways: troweled glass-smooth, floated with sand for a fine grain, or left with the faint arcs of the plasterer’s trowel.
We look closely at what is there, under a raking light, and make samples before committing to the wall. A sand finish is reproduced by adding fine aggregate. Trowel marks are reproduced with the trowel, by hand. It takes somewhat longer than a plain smooth finish and it is what keeps a repaired room coherent.
Paint, and the order of things
Sheen governs how much a surface reveals. Flat paint is forgiving. Eggshell less so. Satin and gloss show everything. If the paint is already chosen, tell us before we begin and we will finish to suit it.
Primer completes the system. New compound and old painted plaster absorb paint at very different rates, and a good primer brings them into agreement. We recommend inspecting the walls once more after priming, in daylight, before any color is applied.
What we would ask of you
Rooms cleared to the walls, since a skim covers every square foot. Steady heat. Patience with the schedule, because each pass must dry before the next. And your eye: walk the room with us at the end, lamp in hand, and point to anything that troubles you.
A few particulars
The reason for the highest level is simple. A wall finished to the ordinary standard presents two materials to the paint: paper between the joints and compound over them. Paper is faintly rough and absorbent. Compound is smooth and dense. Under flat paint in moderate light the difference is invisible. Under any sheen, or under light skimming along the wall, the joints appear as bands. A thin coat over everything gives the paint a single material to lie on.
Wallpaper must come off before any skim. Compound laid over paper will fail with it. The paste beneath has to be washed away or sealed, and any torn facing sealed as well, before the first pass.
Textured walls can be made smooth. The high points are taken down and the rest filled level in two or three passes. It alters the character of a room more than almost any other single change, and it is dusty at the sanding stage, so the room should be cleared.
Look at corners separately. A room may have faultless flats and still seem rough if its inside corners wander. Sight along each from floor to ceiling.
If picture lights, wall washers or a row of recessed fixtures near a wall are planned, tell us at the start. It is far easier to finish for that light than to pursue shadows afterward.
Paint will not conceal a poor surface. It follows what lies beneath it. The surface must be right before any primer is applied.
New finishes go on curing for some weeks after they feel dry. It is as well to wait before hanging heavy pictures or setting furniture hard against a freshly painted wall. After that, the surface should ask nothing more than the usual repainting every several years.
Before and after
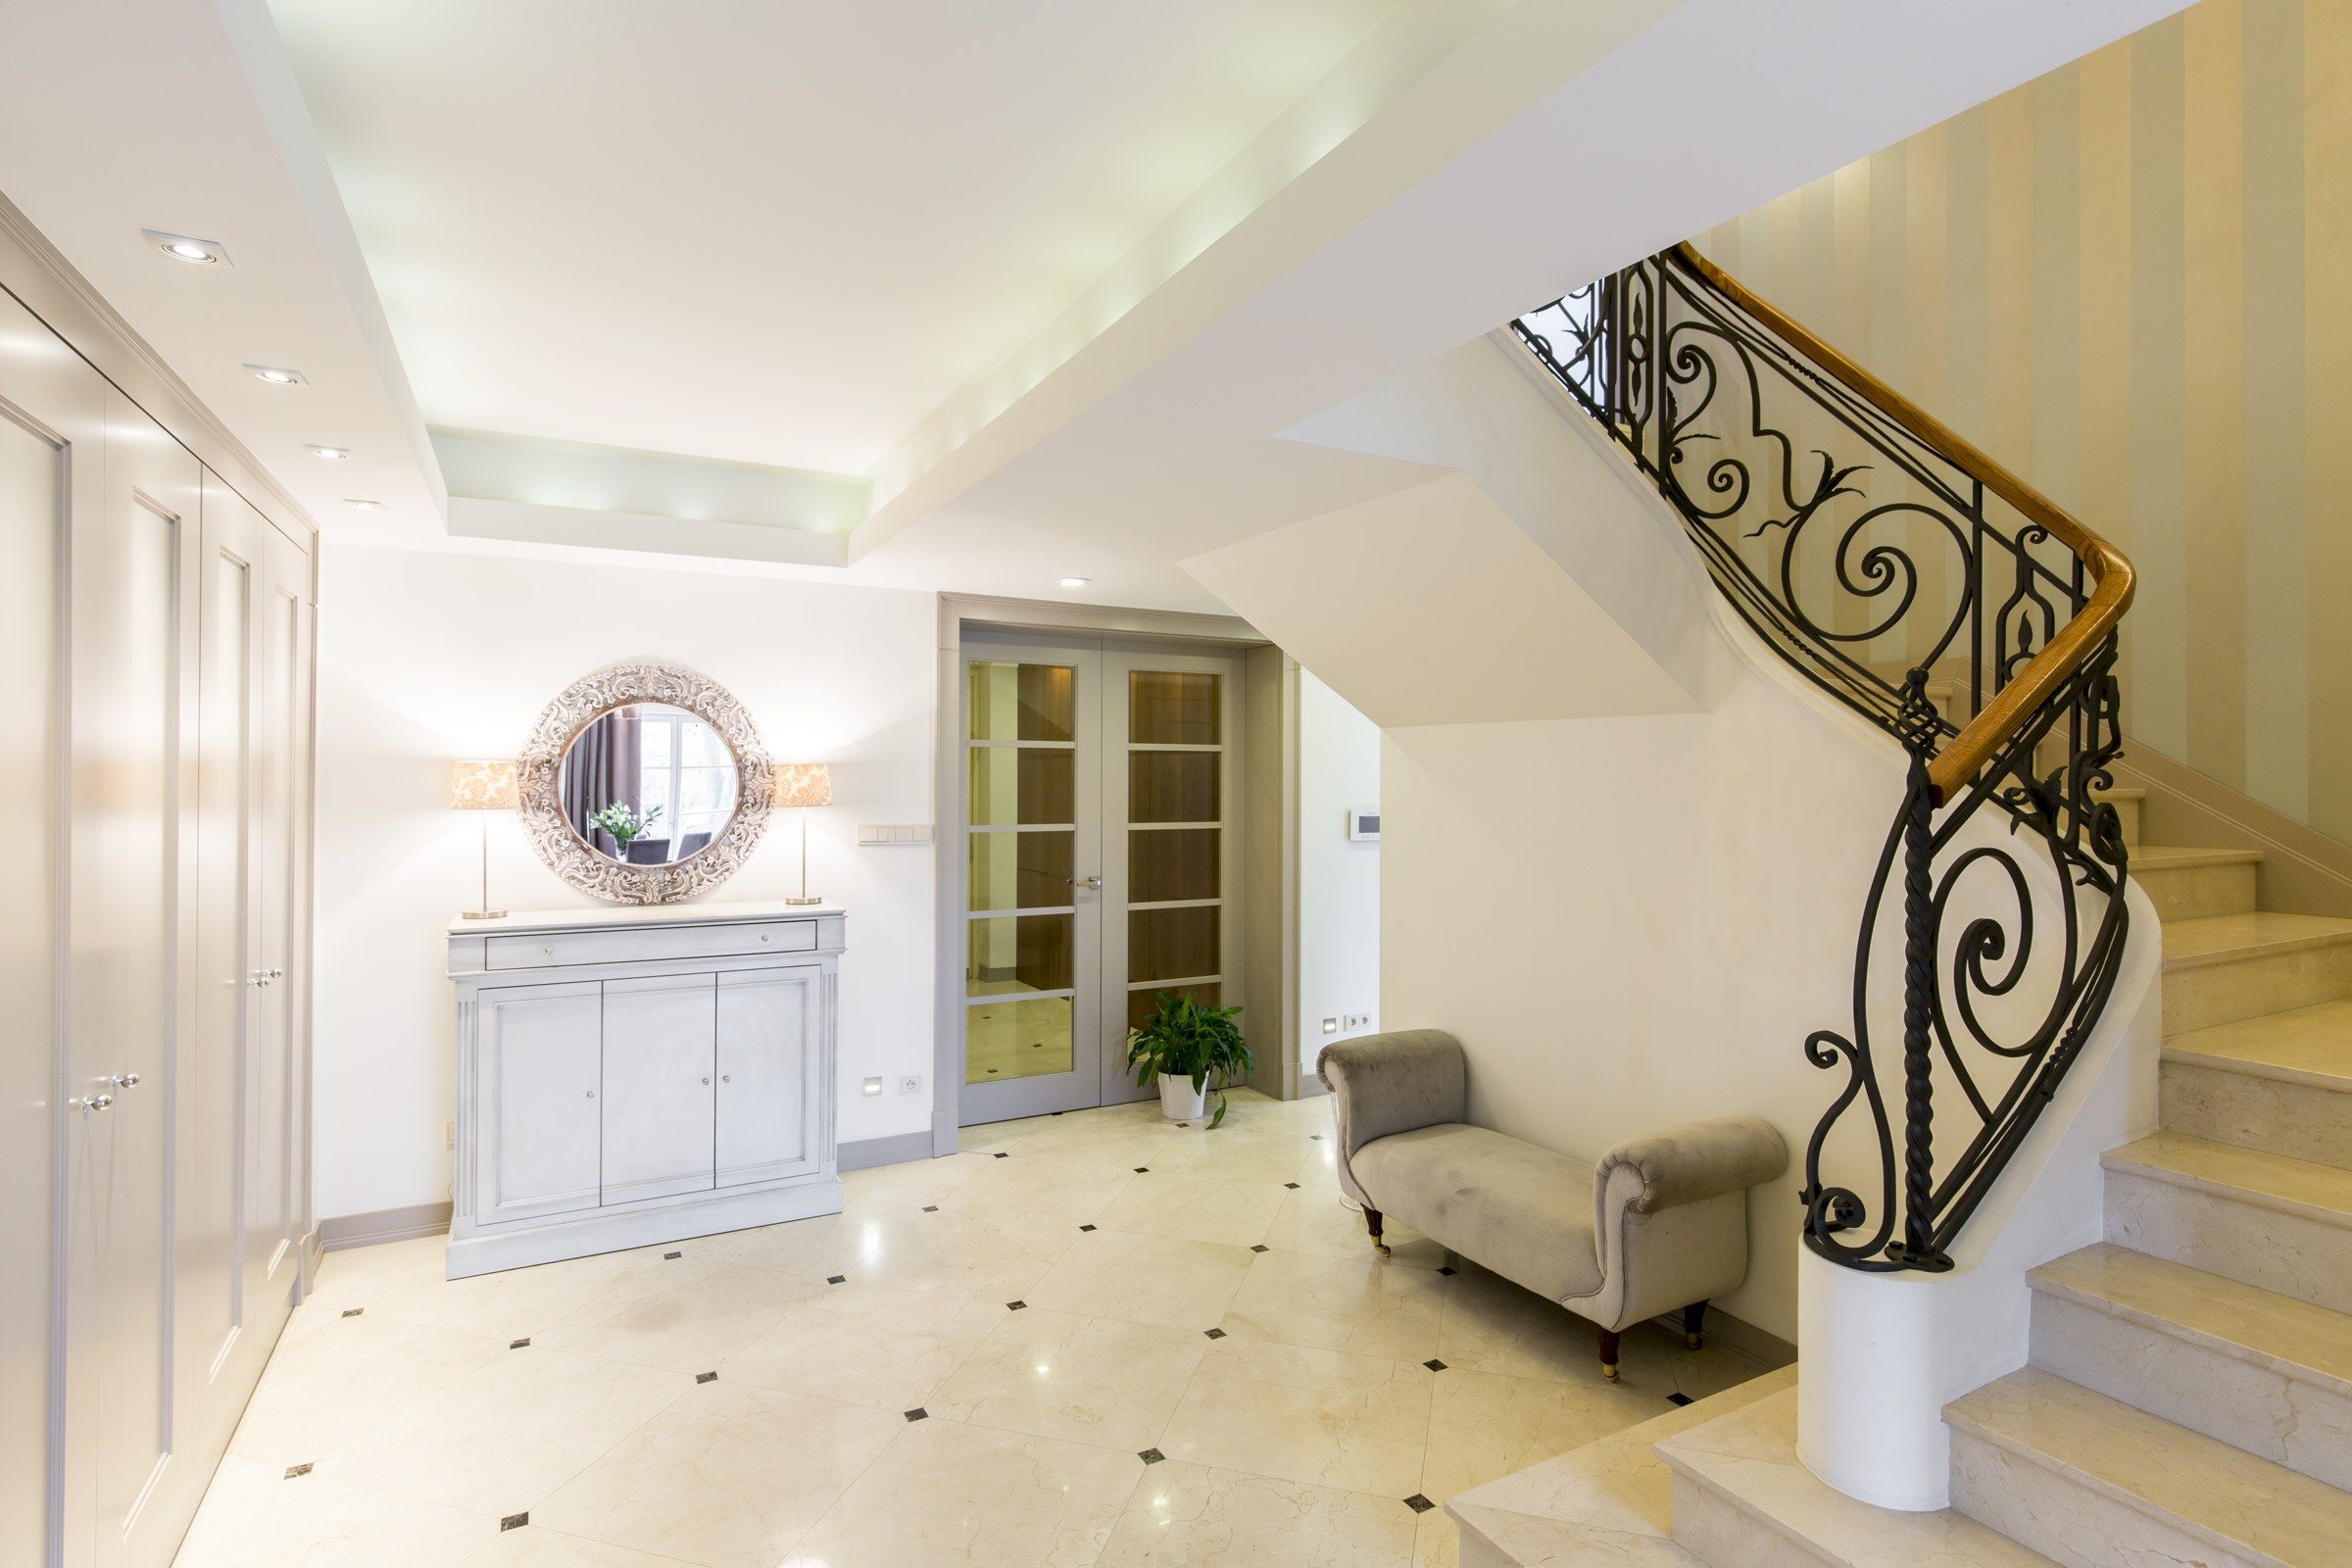
Illustrative stock photographs, not a project of our own.
Finishing in Wauwatosa
The houses here were built for daylight: banks of casement windows, leaded sidelights, sun porches. They are also, increasingly, painted in deeper and more saturated colors than the builders’ whites they wore for decades.
Both trends make the case for a better finish. In the principal rooms of an older Tosa home, we will almost always suggest Level 5.
Questions on drywall finishing
Is Level 5 necessary throughout?
No. We recommend it for principal rooms, stair halls and anywhere with strong side light or sheen. Bedrooms and closets are usually well served by Level 4.
Can drywall be made to look like plaster?
Very nearly, with a trowelled skim and softened corners, and exactly, with a veneer plaster system.
Can you skim over old painted walls?
Yes, once they are cleaned, de-glossed and primed with a bonding primer.
What about walls after wallpaper removal?
They are often torn and uneven. We seal the surface and skim coat it to a fresh finish.
Which primer should follow?
A high-build drywall primer-sealer. We will give your painter a specific recommendation.
Related
Work often done alongside
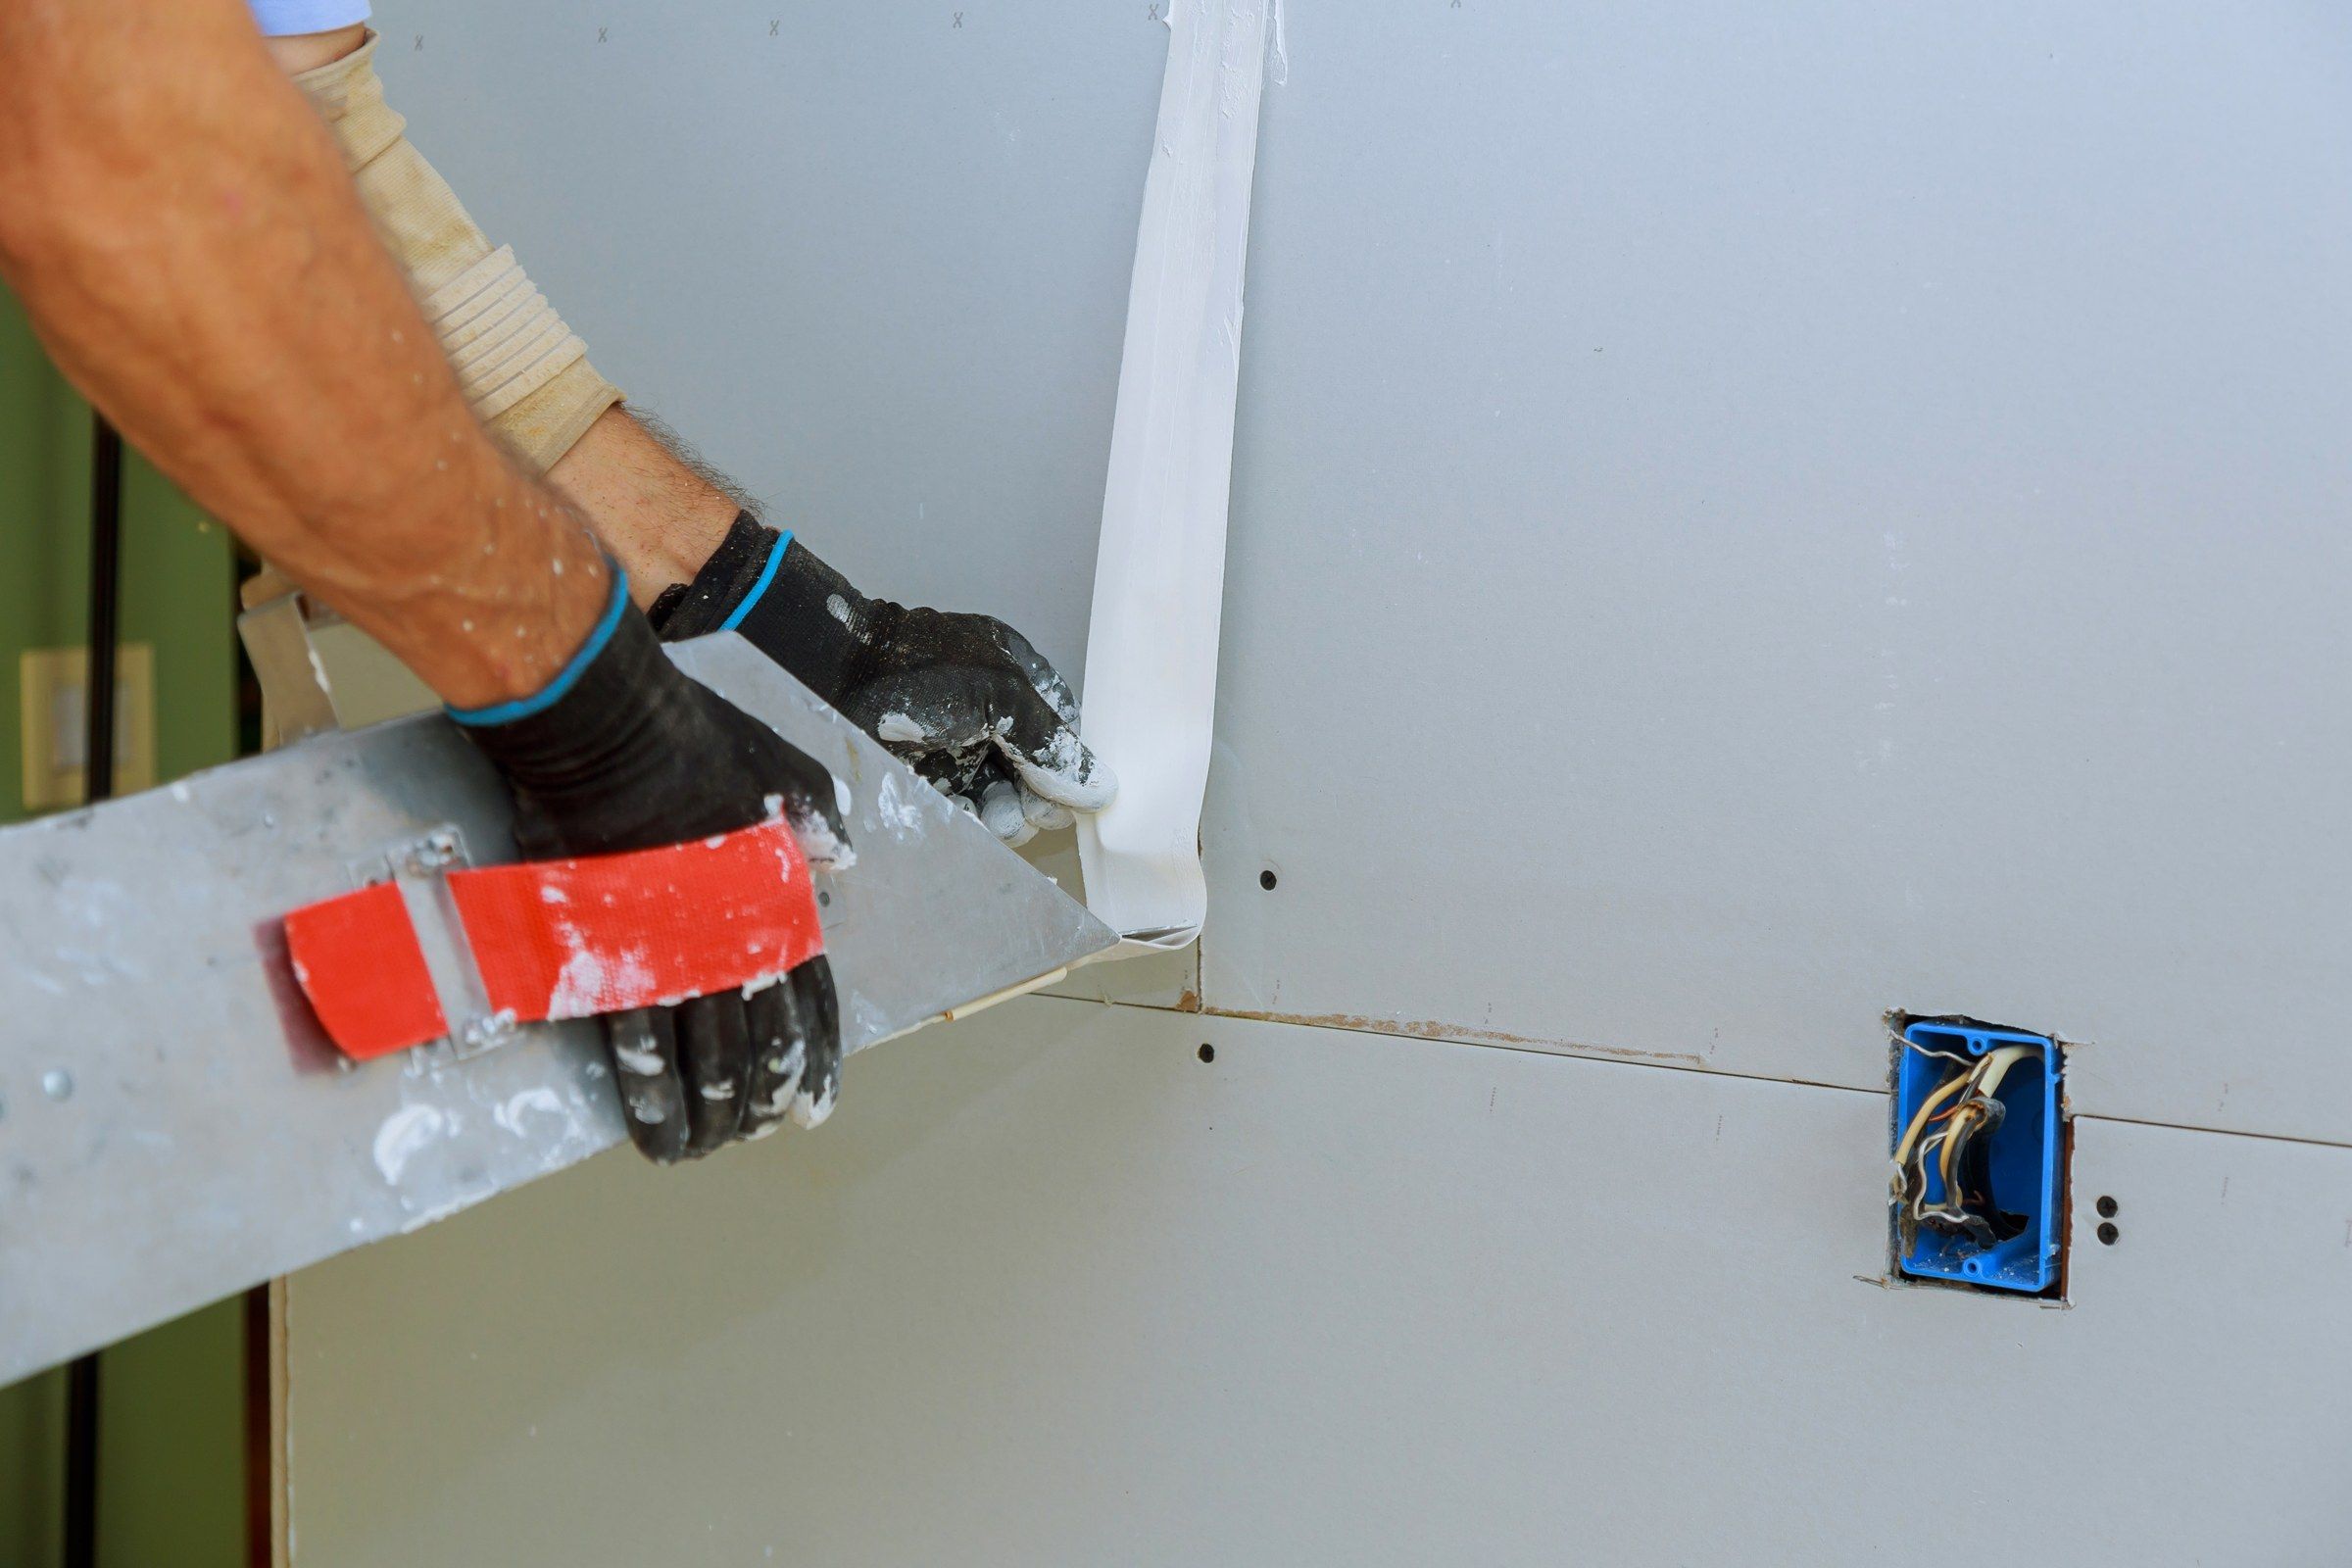
Drywall Taping & Mudding
Joints, corners and fasteners brought patiently to a seamless surface.
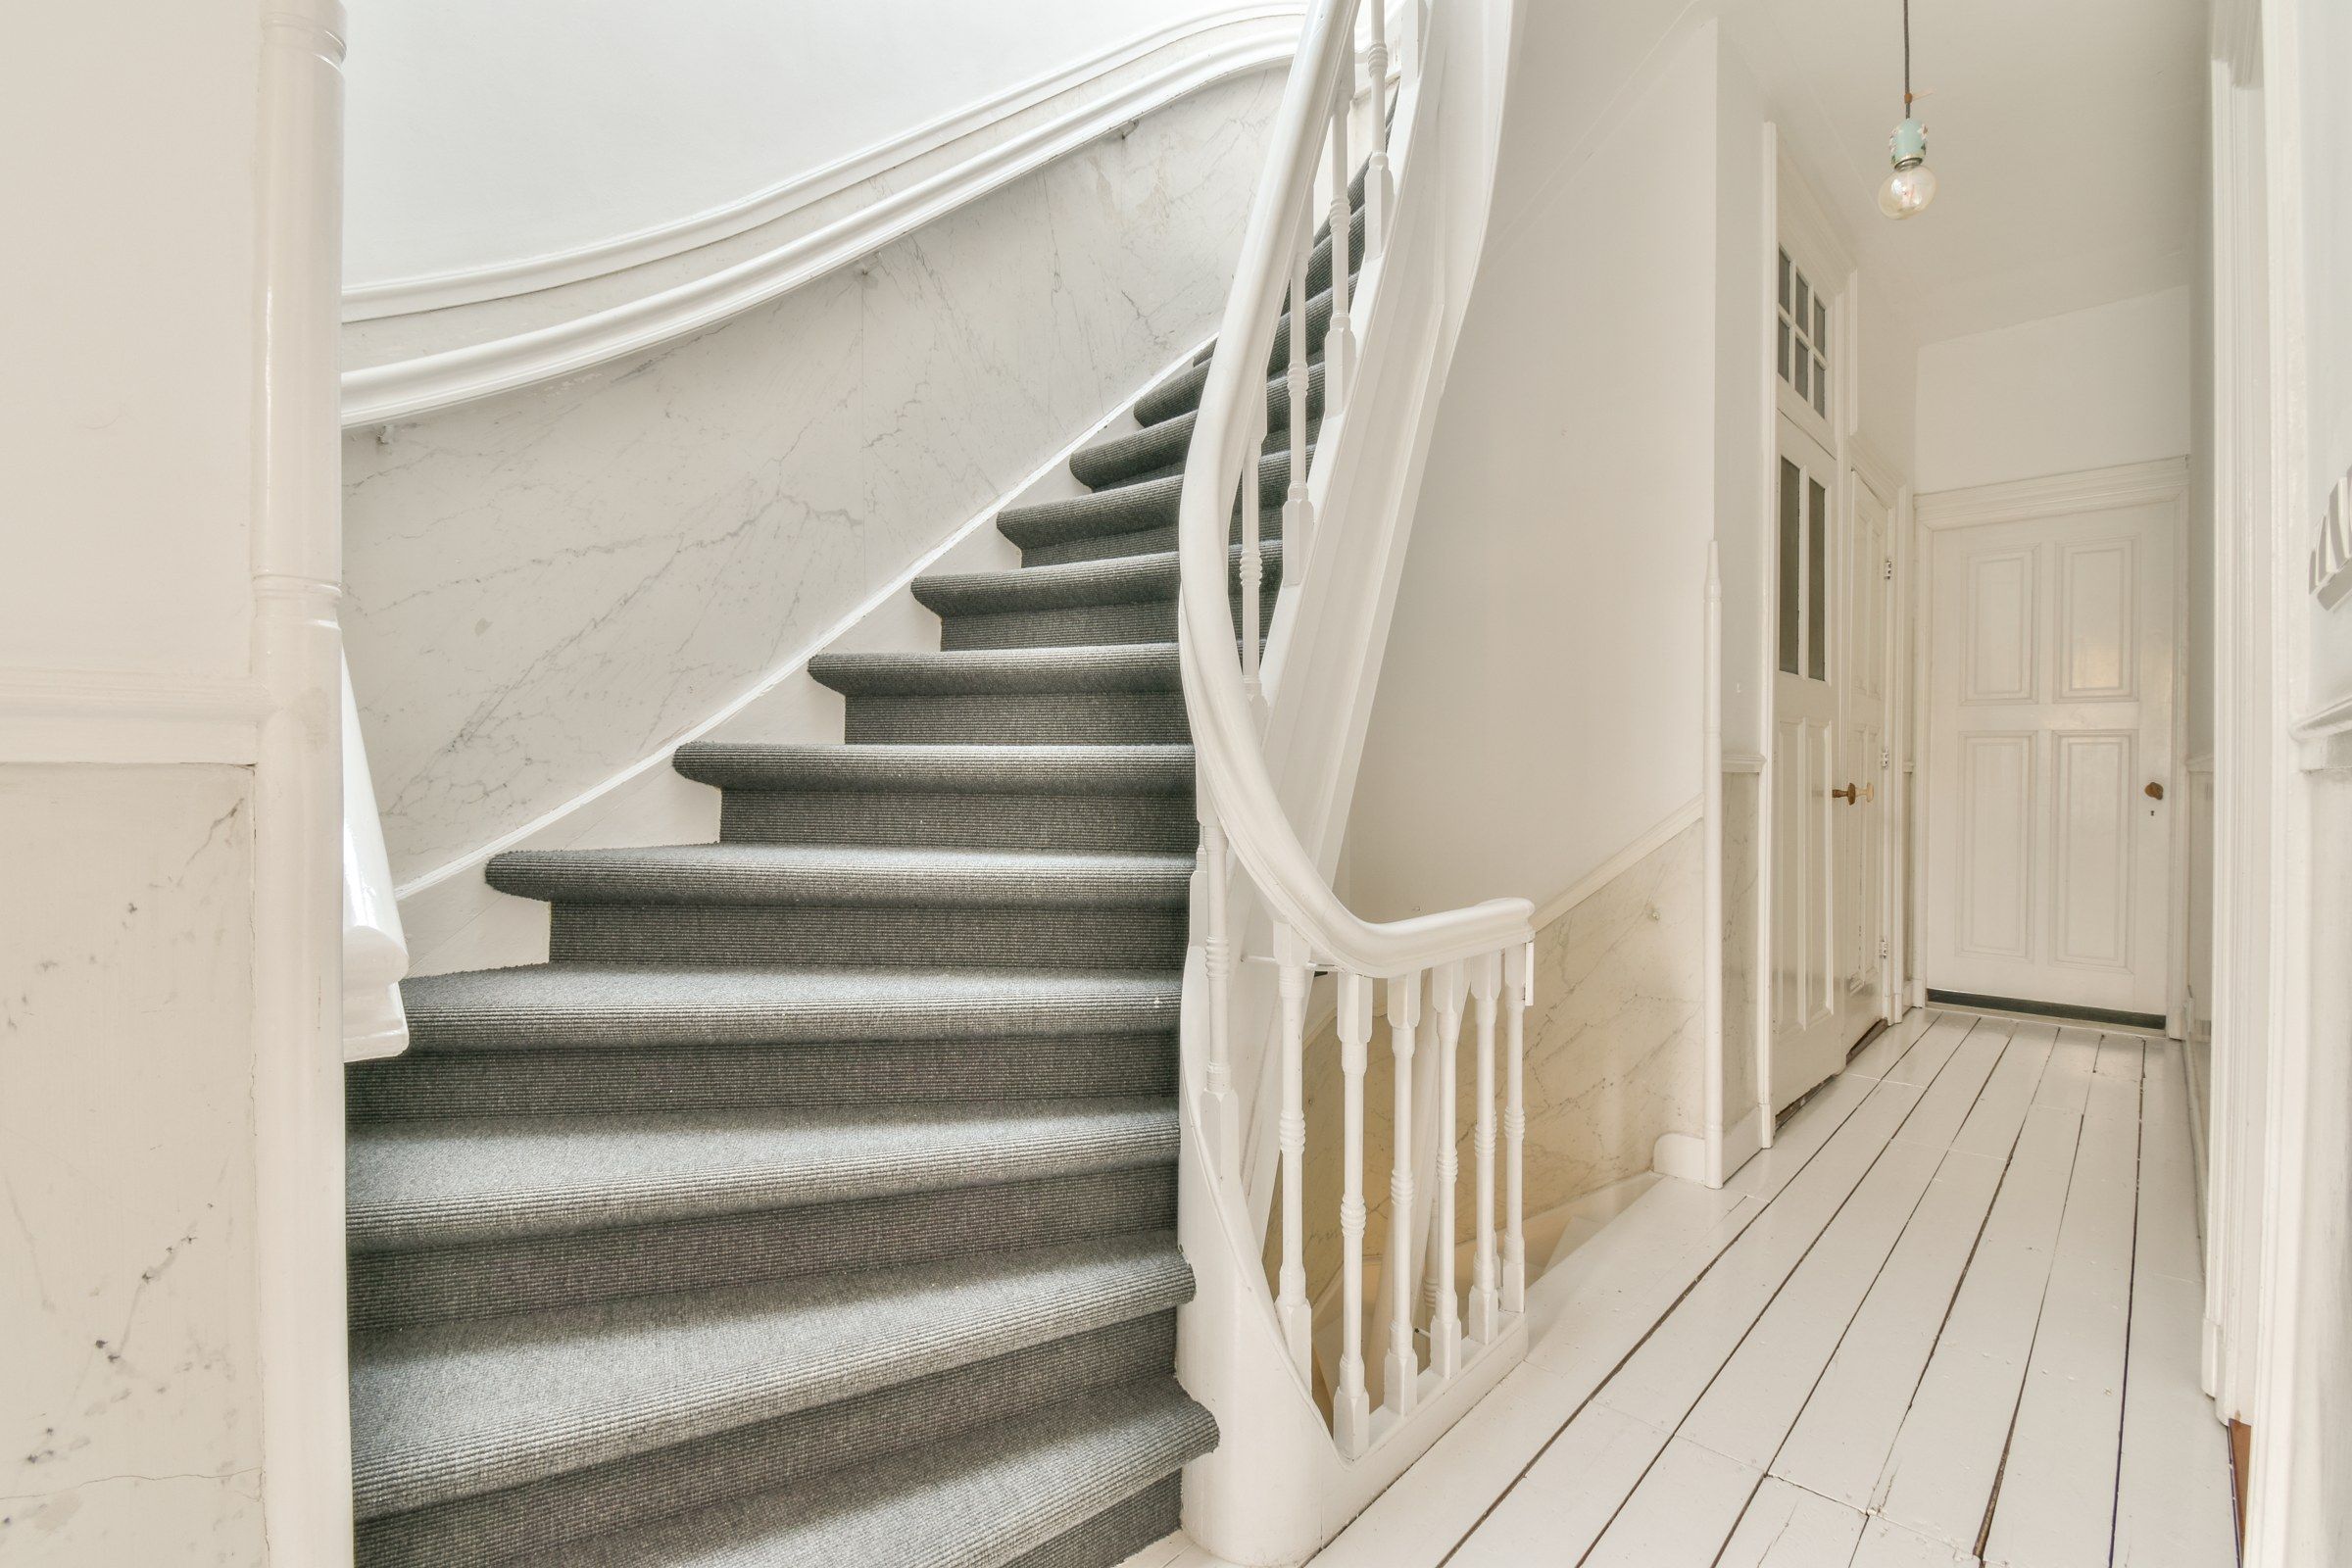
Residential Drywall Services
Drywall and plaster-sympathetic work for the houses of Wauwatosa.
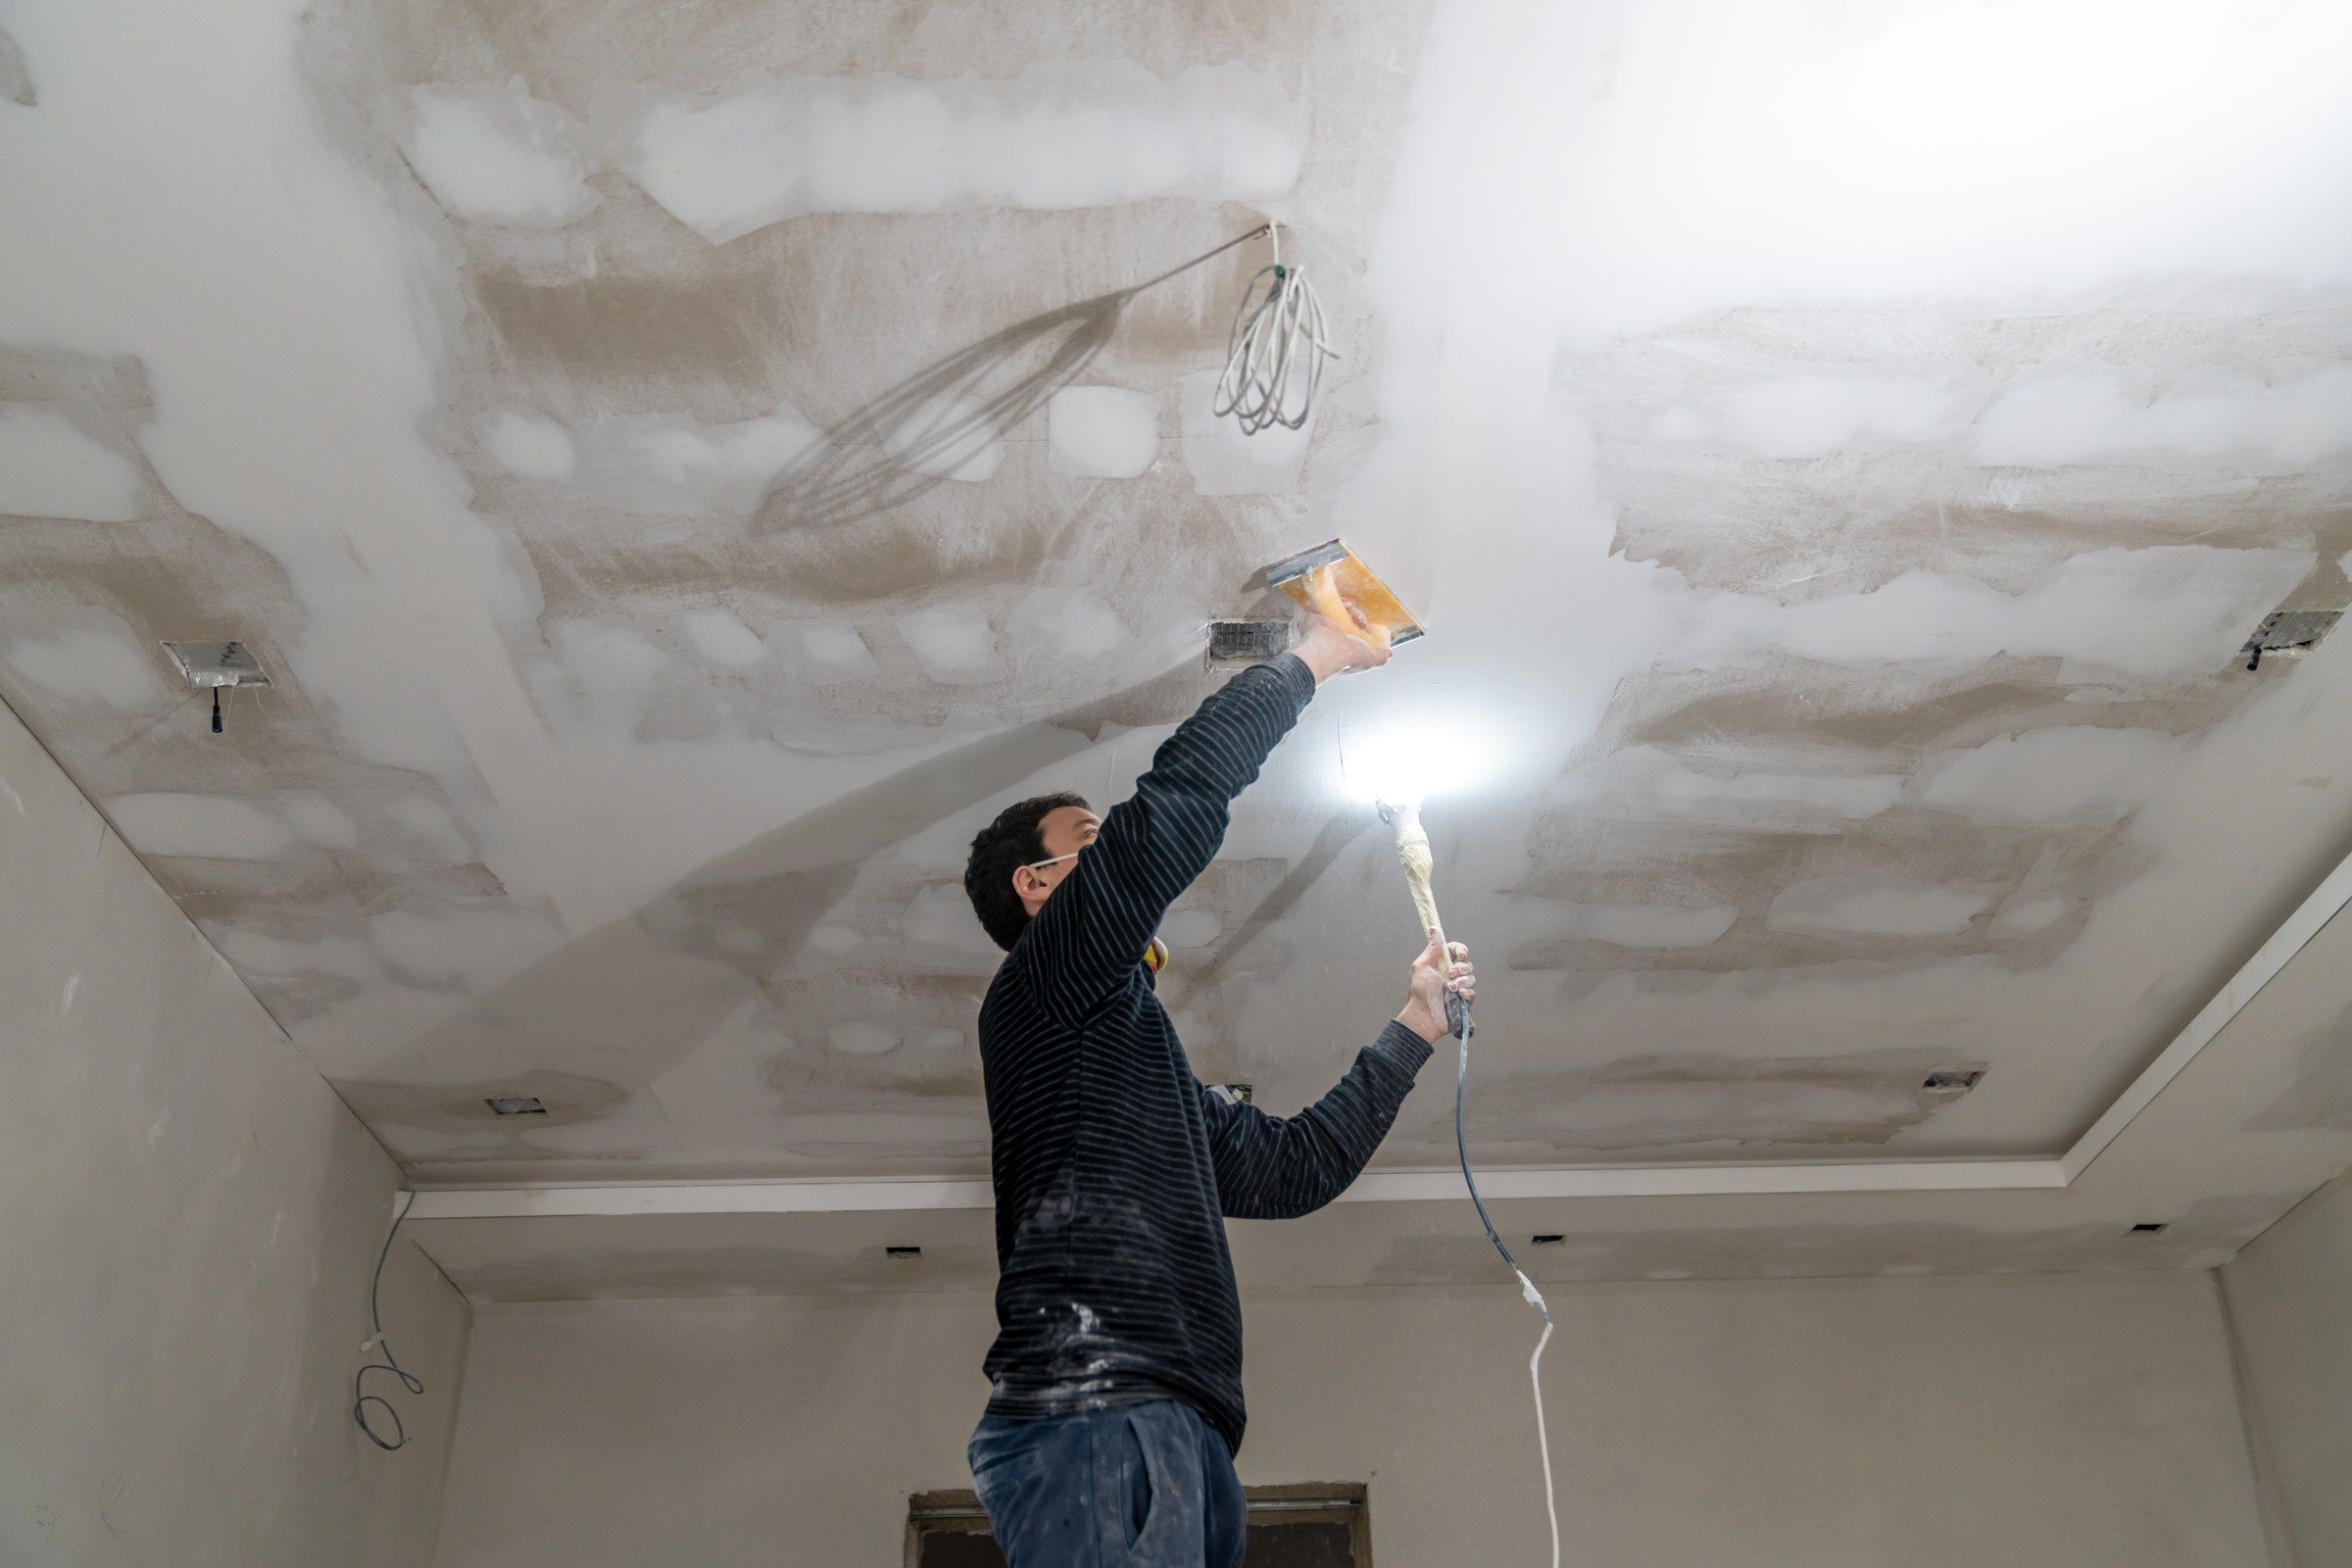
Ceiling Drywall Repair
Cracked, sagging and stained ceilings stabilized and made level.
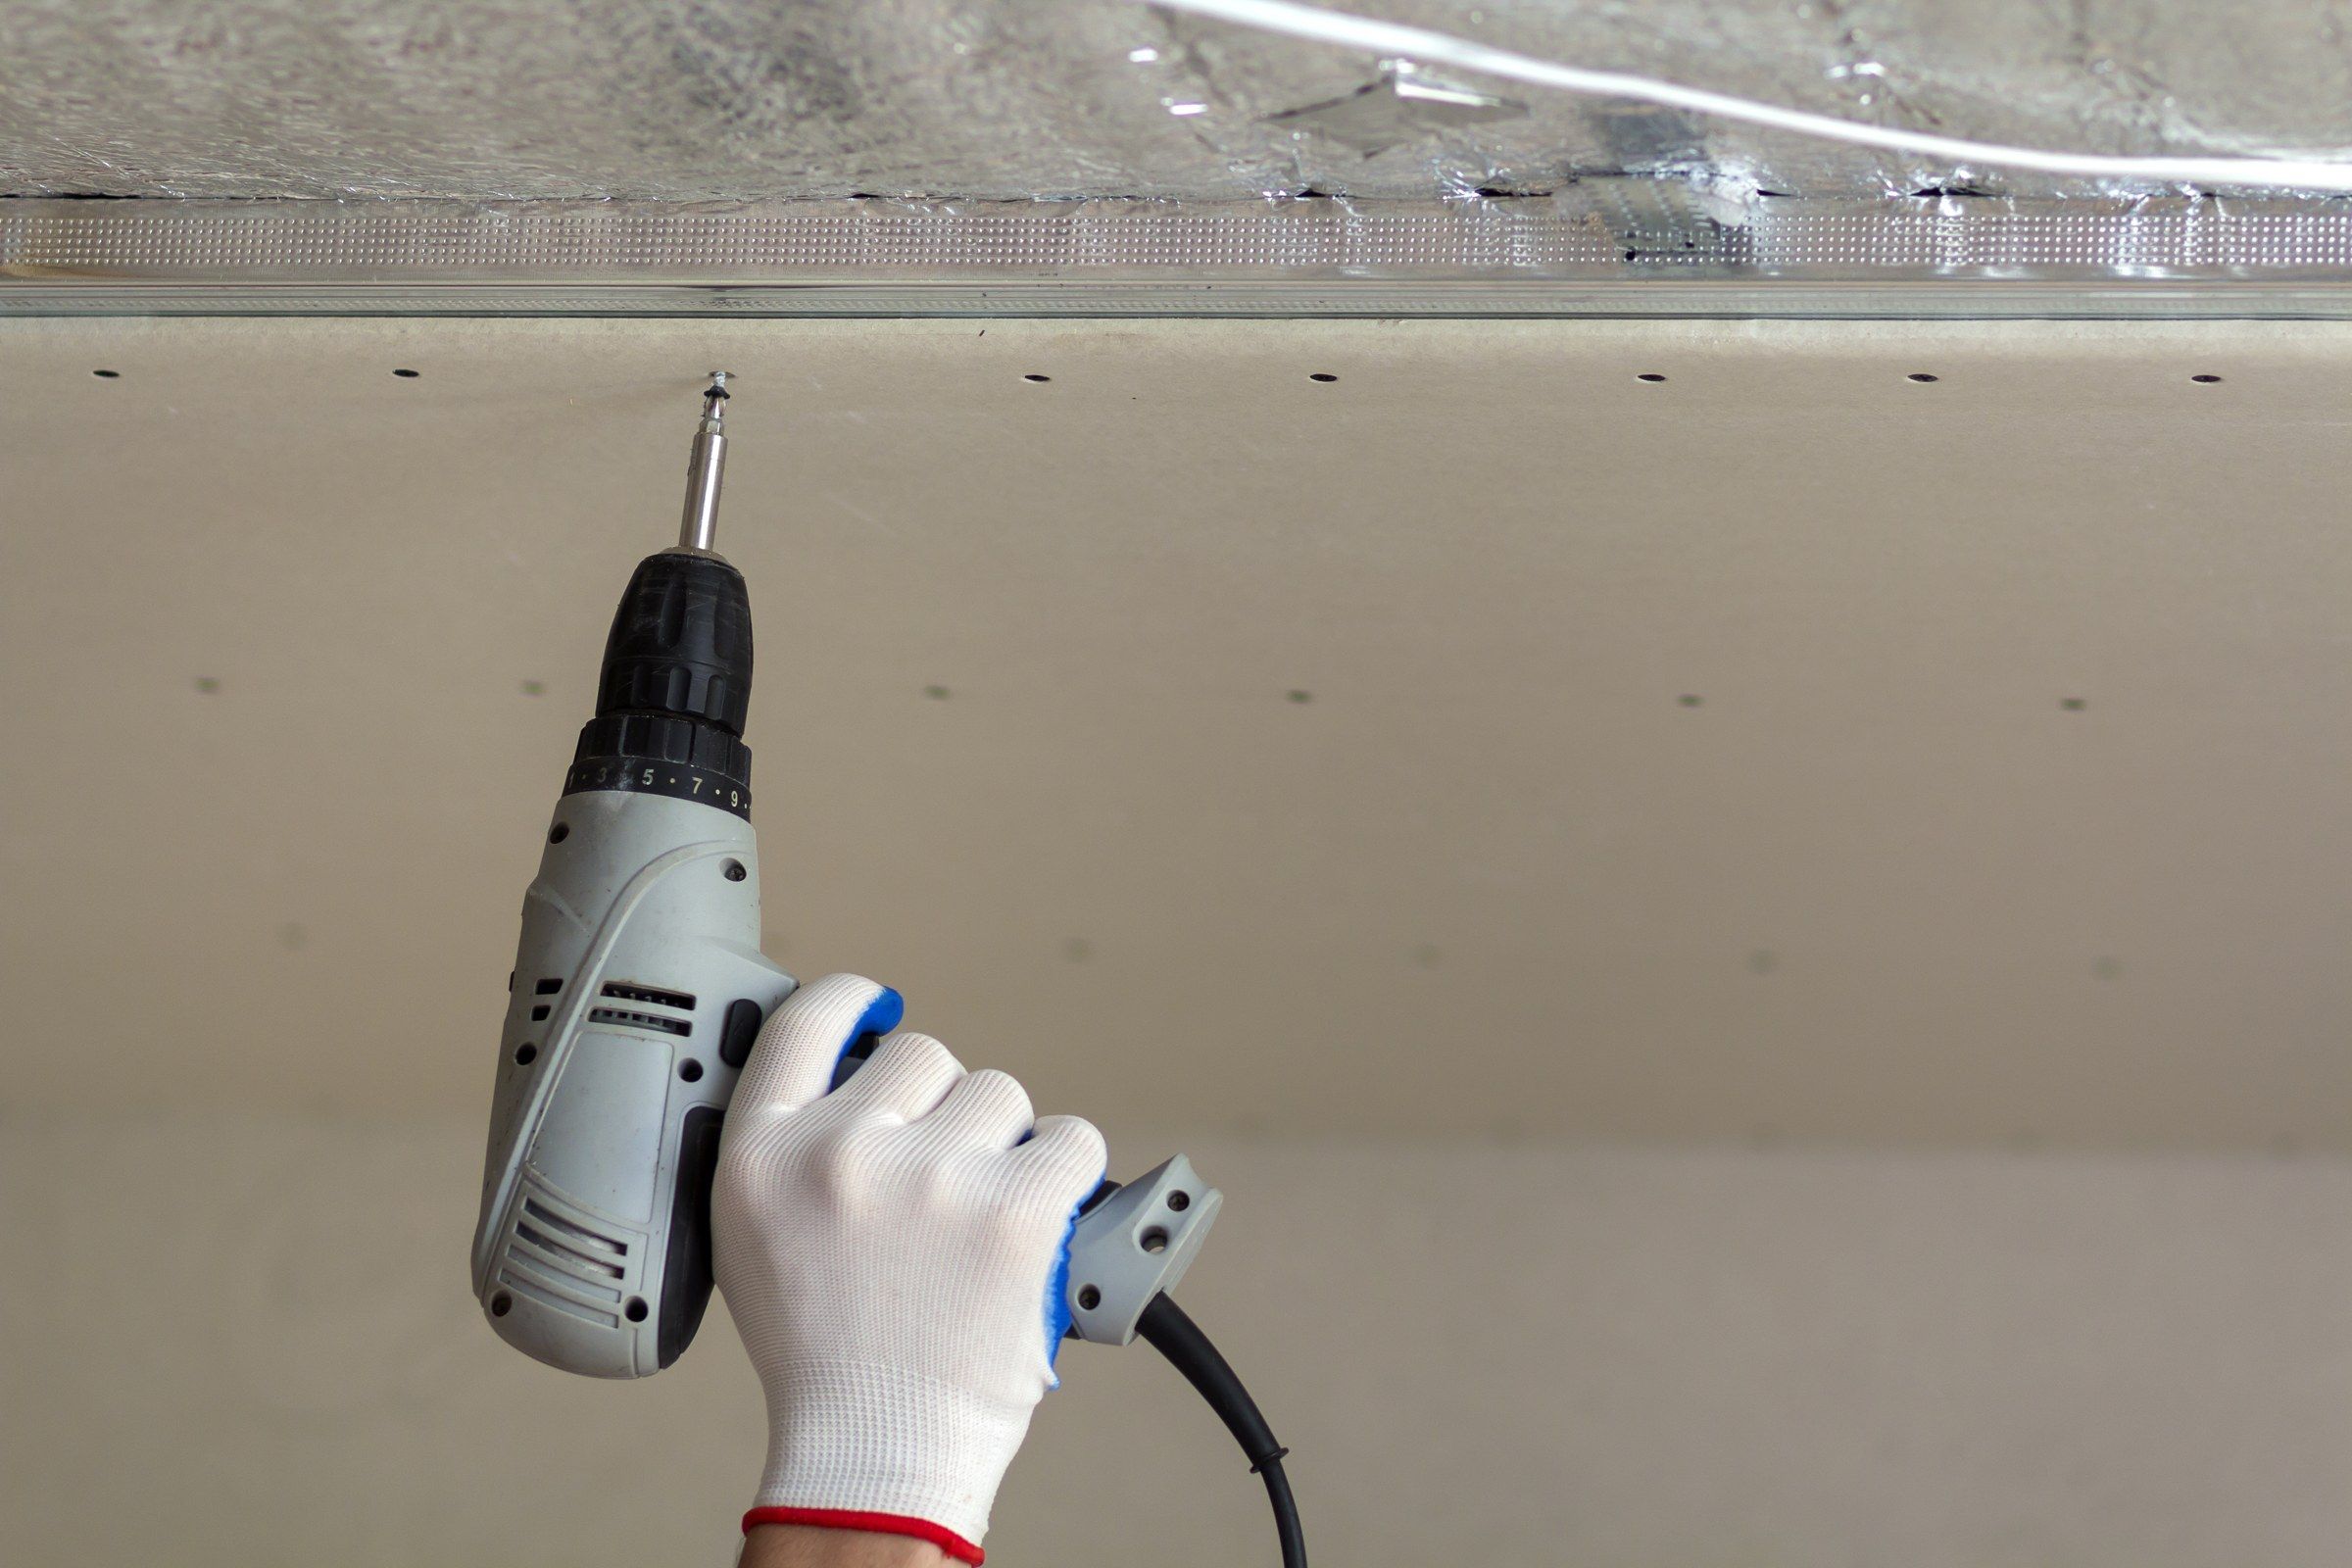
Drywall Installation
Board set out and hung with the finished surface already in mind.
May we quote for this?
Tell us about your drywall finishing project in Wauwatosa. A written estimate follows, without charge.
Get a free estimate